B2B Portals
B2B Portals is available within the Invite partners function and available to administrators and those users with the role Manage partners. Invite partners is found in the left-hand side pane, or on the top right toolbar depending on the chosen orientation, under Administration. The function allows you to share business processes processes to select business partners as external links.
How to get started
To access B2B portals:
-
Click on Administration in the left-hand side pane and then click on Invite partners.
-
You can view any shared processes or invited partners in the main view.
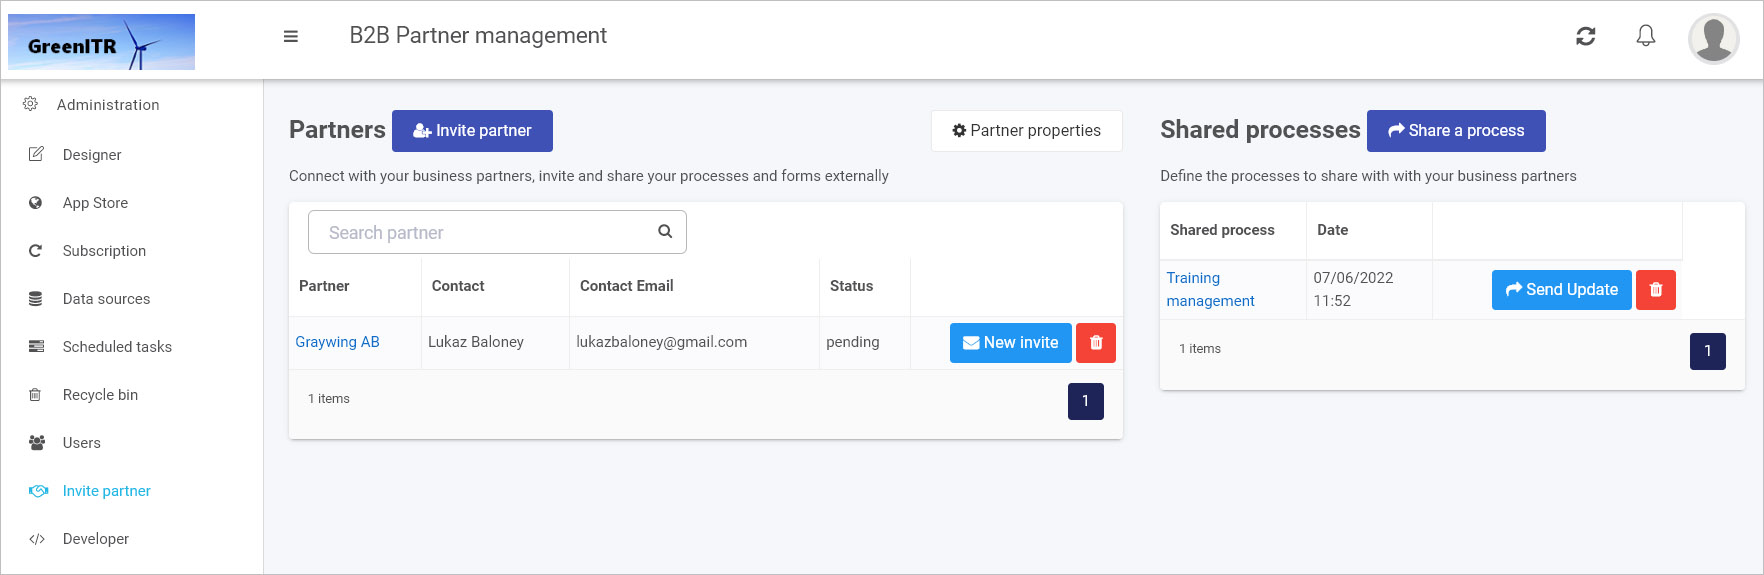
There are two main areas: Partners and Shared processes, these are explained in more detail below.
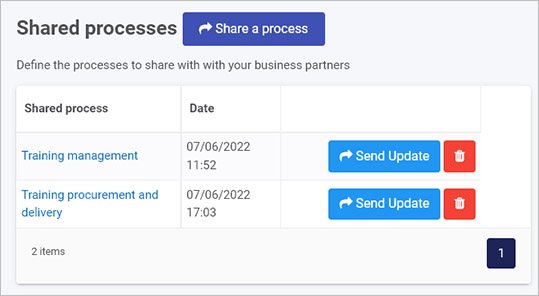
Shared processes
Existing shared processes appear within this section in the right-hand side of the main view. Before you invite a partner you must choose a process to share from within this section first.
To share a process
-
To share a process with a business partner, click on the Share a process button.
-
In the Edit Shared Process dialog box, fill out the fields.
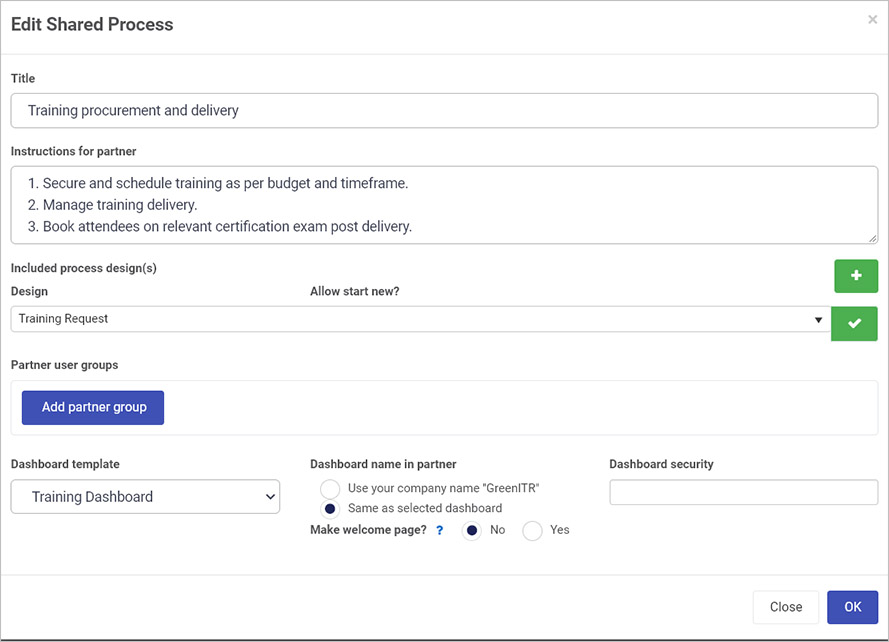
The fields in this box are:
-
Title - provide a title for the shared process
-
Instructions for partner - provide instructions for the selected partner
-
Click on the plus symbol
 to add a selected process design to share. Then click on the dropdown list to search for a process to share.
 -
Click on the tick symbol
 to add the selected shared process. To change the selected shared process properties by clicking on the Cog/Settings button
  or delete the selected shared process by clicking on the Bin/trash button
  .
.
-
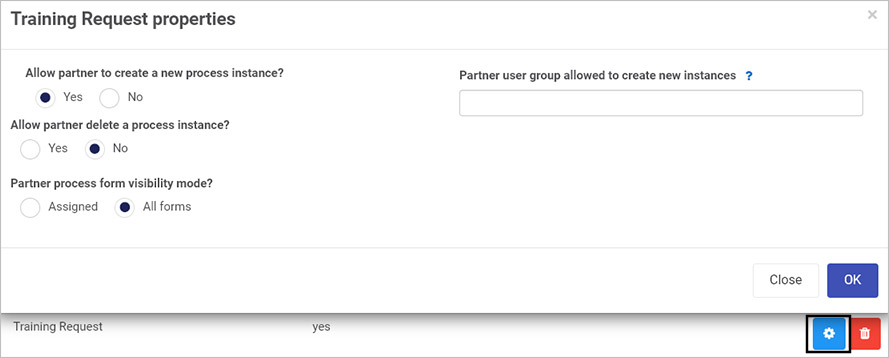
If you click on the Cog/Settings button
a Process properties dialog box appears, as shown above, for example Training Request properties. You can check radio buttons for:-
Allow partner to create a new process instance - choose from Yes or No. If you choose Yes, then you are allowing invited partner(s) to create new process instances from the chosen shared process design. A field Partner user group allowed to create new instances appears, where you can define the group(s) in the partner organisation, that can create these new process instances. If you leave the field blank, then anyone in the partner organisation can create process instances.
-
Allow partner delete a process instance - choose from Yes or No. If you choose Yes, then you are allowing invited partner(s) to delete new process instances from the chosen shared process design.
-
Partner process form visibility mode - choose from Assigned or All forms. If you choose Assigned, then the invited partner(s) can view only assigned form versus all forms, if All forms is chosen.
-
When you are finished editing the dialog box, click on OK, or else click on Close to exit the dialog box at any stage.
-
-
If you click on the Bin/trash button
then a pop-up appears to Confirm removal, choose from OK or Cancel.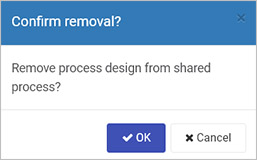
-
Click on the Tick symbol
to add further selected processes to share. -
Click on the Add partner group button to add one or more partner groups. Click on the Bin/trash button
to delete partner groups. -
Under Dashboard template click on the dropdown list to select an existing dashboards to share with the selected processes. If you choose to share a dashboard then you can select parameters:
- Dashboard name in partner - choose from Use your company name ‘Name of your organisation’ or Same as selected dashboard
- Make welcome page - choose from Yes or No. If you choose Yes then the selected dashboard becomes the welcome page for the partner if no other welcome page is configured.
- Dashboard security - choose from created partner groups within this field to ensure that only users in these partner groups can access the dashboard.
- When you are finished editing the dialog box, click on OK, or else click on Close to exit the dialog box at any stage.
To view details of an existing shared process
-
From the main shared processes view, click on the name of a shared process.
-
An Edit Shared Process dialog box appears with the same parameters as described in the To share a process section.
-
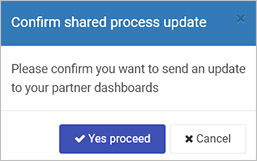
From the main shared processes view click on the Send Update button if you want to send an update to your partner dashboard. Then in the Confirm shared process update dialog box click on Yes proceed to send the update or Cancel to cancel sending the update.
-
Click on the Bin/trash button
to delete a shared process.
To invite partners to shared processes go to the Partners section.
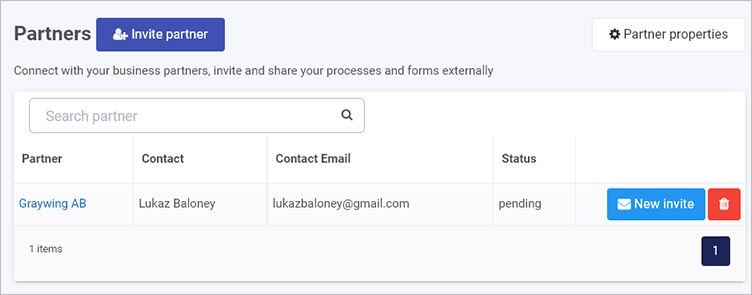
Partners
Existing partners appear within this section in the left-hand side of the main view. Before you invite a partner create a shared process as demonstrated in the section To share a process.
To invite partners
-
To invite partners to view shared processes, click on the Invite partner button.
-
In the Invite partner dialog box, fill out the fields.
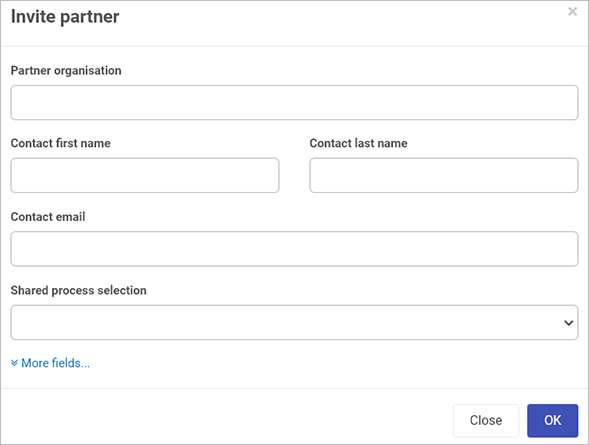
The fields in this box are:
-
Partner organisation - provide the name of the partner organisation
-
Contact first name - provide the first name of a contact in the partner organisation
-
Contact last name - provide the surname of a contact in the partner organisation
-
Contact email - provide the email of a contact
-
Shared process selection - in the dropdown list choose a shared process created using the steps listed in To share a process.
-
Click on More fields to see more fields these include: Partner country, Partner city, and Partner logo which you can add by clicking on Browse and browsing your PC or network.
- When you are finished editing the dialog box, click on OK, or else click on Close to exit the dialog box at any stage.
To view details of existing partners
-
From the main partners view, click on the name of an existing partner from the list of partners or type in the name of a partner in the Search partner search box.
-
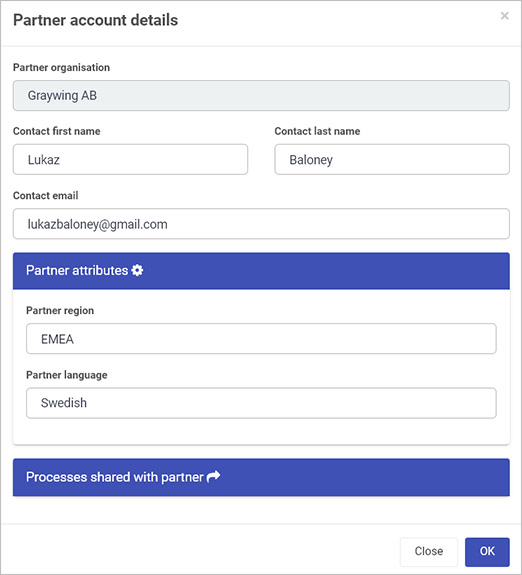
The Partner account details dialog box appears and details can be edited.
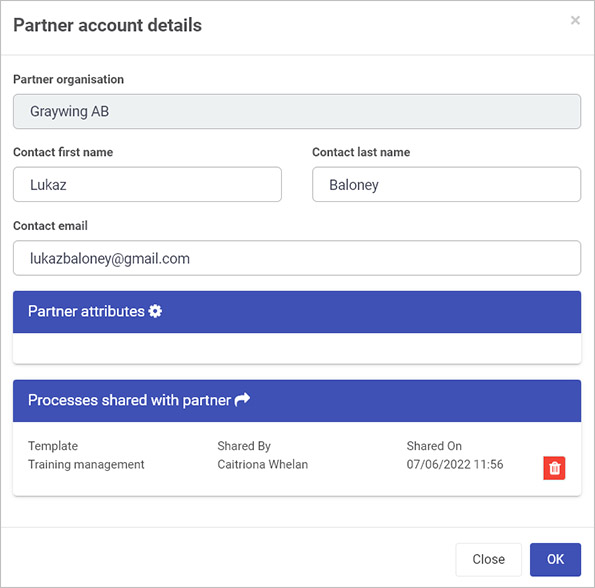
This dialog box contains same parameters as described in the To invite partners section, in addition to:
- Partner attributes - any additional partner attributes are listed here. See Partner properties section.
- Processes shared with partner - any processes shared with the partner organisation, following the steps in the To invite partners section, are listed here.
-
When you are finished editing the dialog box, click on OK, or else click on Close to exit the dialog box at any stage.
-
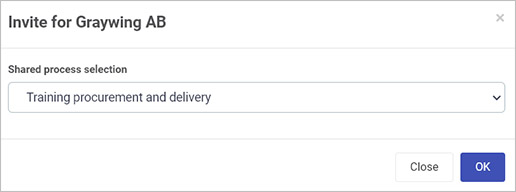
From the main shared processes view click on the New invite button if you want to invite a partner to a different shared process from the original one. Click on the dropdown list under Shared process selection and select one of the listed shared processes. When you have made your choice, click on OK, or else click on Close to exit the dialog box at any stage.
-
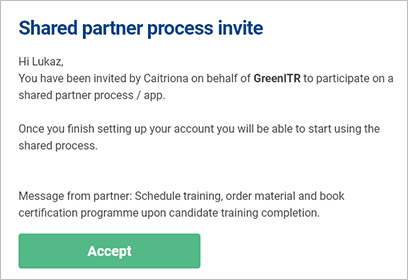
Clicking on OK results in an email invite being sent and the status in the Partners main view for the partner will be Pending until the partner clicks on Accept in the email, as shown in the example below, following by Accept invite in a further screen.
-
Click on the Bin/trash button
to delete a shared process, Then in the Remove partner dialog box click on OK to remove the partner, or Cancel to cancel the removal.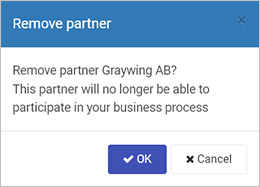
To edit existing partner properties, go to the Partner properties section.
Partner properties
To add new partner properties click on the Partner properties button in the main Partners view.
-
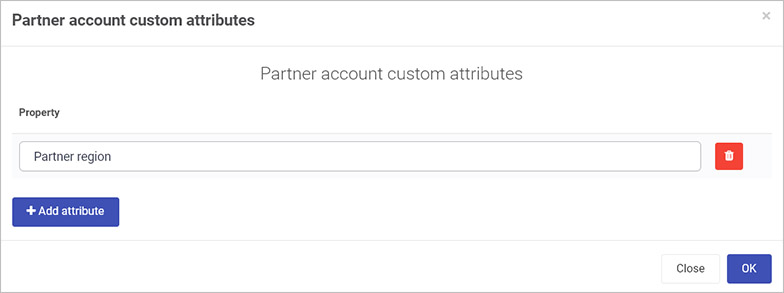
When you click on the button, the Partner account custom attributes dialog box opens.
-
Click on Add attribute and type in a property, for example Partner region as shown in the example below.
-
Click on Add attribute to add further properties, or click on the Bin/trash button
to delete a property. -
When you are finished editing the dialog box, click on OK, or else click on Close to exit the dialog box at any stage.
When a new property has been added you will receive a notification Global settings updated and the attribute can be edited for partners when you click on the partner name in the main view and edit the Partner attributes details.
What’s next 
To read more about creating process designs in Designer and how to use the interface to create forms go to Application Designer.
To find out about help and support, go to Help.
Feedback
Was this page helpful?
Glad to hear it! Please tell us how we can improve.
Sorry to hear that. Please tell us how we can improve.