Subscription
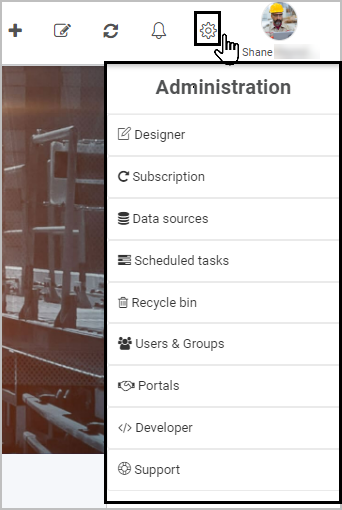
The Subscription function is available to administrators and is found in the left-hand side pane or on the top right toolbar depending on the chosen orientation, under Administration. This function allows you to update the look and feel of your workspace, set regional, mobile and single sign-on settings and design the login page.
For developers who wish to customise and style their Kianda workspace and processes, there are options to support you in achieving a high level of design that is instantly recognisable for users. These options include creating a custom branding style, customised login page and option to control how your platform will look on mobile devices.
How to get started
To view, use the Subscription function as an administrator:
-
Click on Administration in the left-hand side pane and then click on Subscription.
-
The main Subscription page opens.
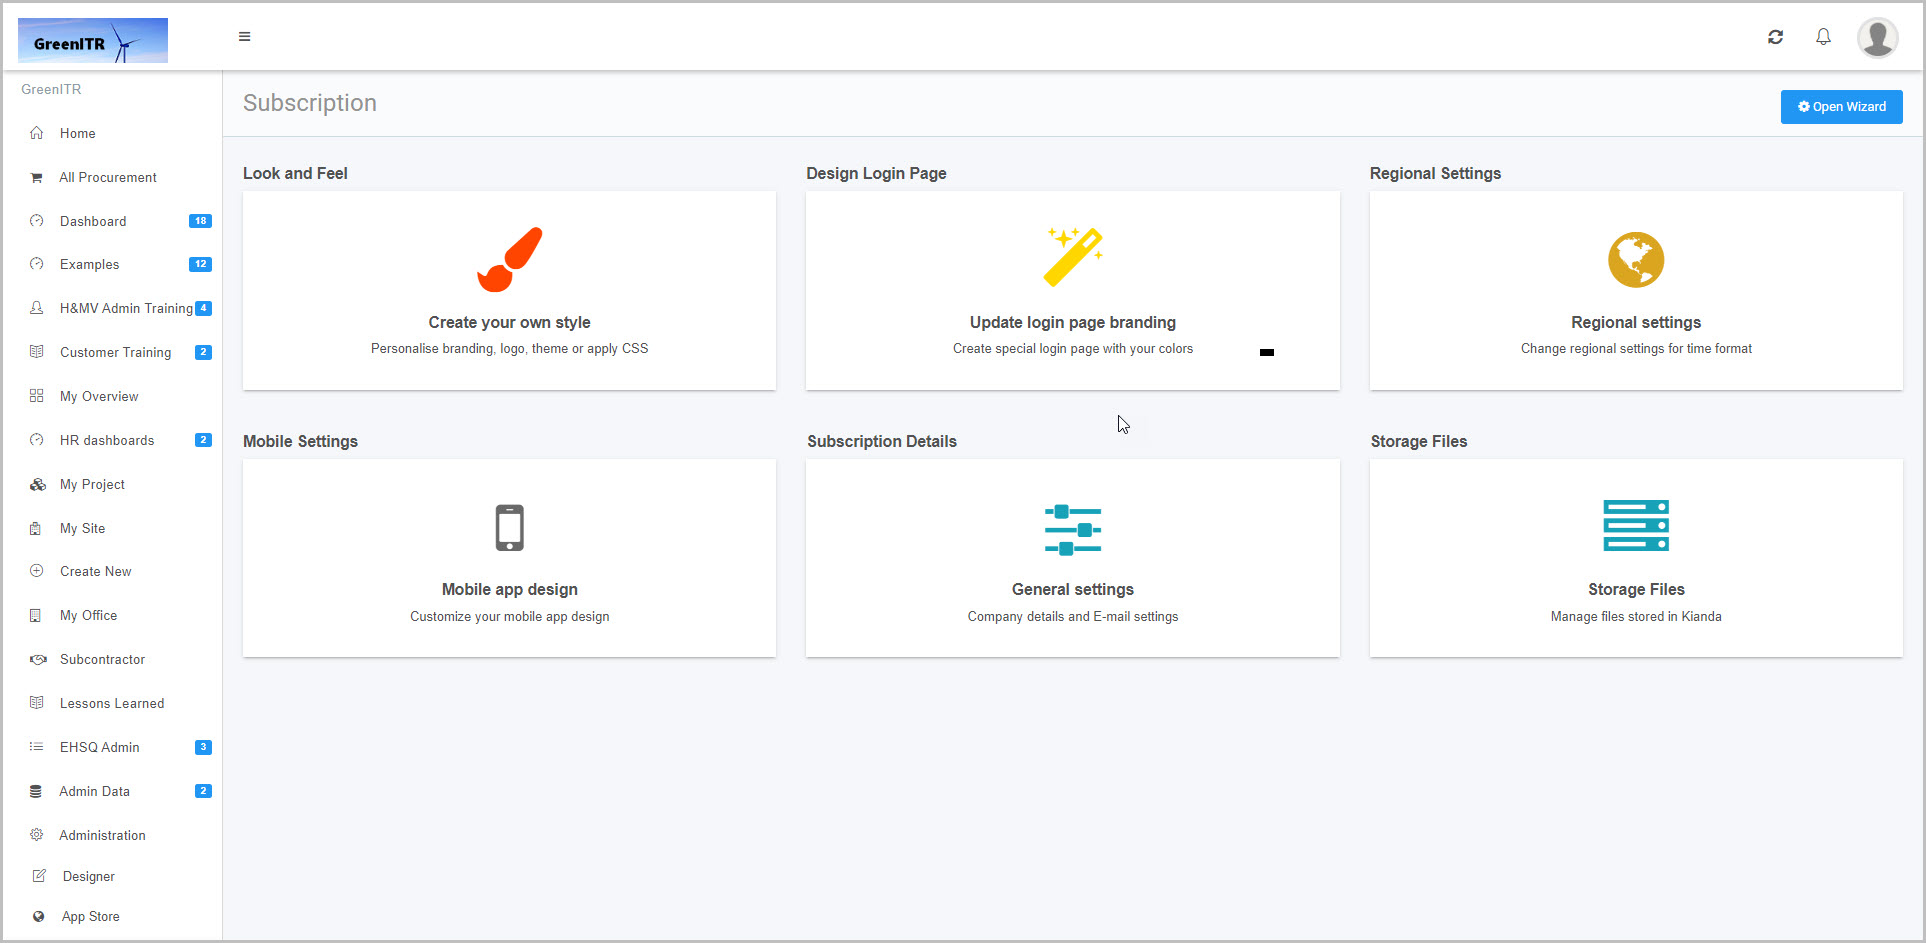
In this view you can typically make changes to six areas:
- Look and Feel allows you to change the look and feel for your workspace, for example adding company logos.
- Design Login Page allows you to design the login page for your workspace, for example to change background and font colours and add taglines.
- Regional Settings allows you to set your operational time zone and regional settings, such as English Ireland for language.
- Mobile Settings allows you to customise how the Kianda workspace will appear as a mobile app.
- Subscription Details allows you to view your company details and enable a Global SMTP Mail connector for sending automated emails.
- Storage Files allows you upload, delete and view public and private files within your subscription. You can also create folders to organise your files.
These areas are covered in more detail in the sections below.
-
Click on a particular area to edit details or click on the Open Wizard
 button to use a wizard to edit Look and Feel, Design Login Page, Regional Settings, and Mobile Settings.
Details on each area are available below.
Look and Feel
You can access this section by clicking on Open Wizard > Look and Feel or by clicking on Look and Feel in the main Subscription page.
Alternatively you can access this section by clicking on the Look and Feel shortcut found in the Administration menu.
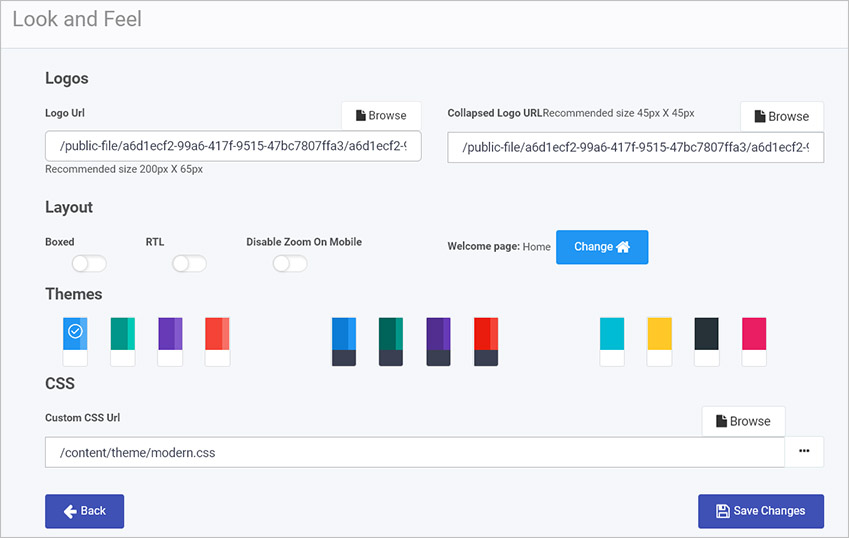
Note: Logo sizes are 200 x 65px for a full-sized logo and 45 x 45px for a collapsed logo. You can also select a colour scheme under Themes and preview the results under Workspace preview on the right.
Details for each of the areas within the page - Logos, Layout, Themes and CSS are available below. Make sure to click on Save Changes  to save any changes made.
Logos
To add a logo for your company:
- Click on Browse beside Logo Url to browse for a logo to add from your PC or network. The recommended size is 200px x 65px.
- To add a logo that will appear when the left-hand side menu is collapsed, click on Browse beside Collapsed Logo URL to browse for a logo to add from your PC or network. The recommended size is 45px x 45px.
Layout
The options for your workspace layout are:
-
Boxed - moving the slider across to enable a boxed layout, that is the workspace appears in a box in the browser, with space appearing around the box and content is centred.

-
RTL - moved the slider across to enable a right-to-left (RTL) layout, that is text, layout, icons and so on are right-hand based.
-
Disable Zoom on Mobile - move the slider across to enable the ‘disable zoom on mobile’ option, which means that the zooming option is disabled on mobile web pages.
-
Welcome page - click on the Change button
 to change the Welcome page for users of your Kianda workspace. The Update welcome page dialog box opens where you can click on the drop-down list under New welcome page to choose a new welcome page, from the Home page and dashboards.
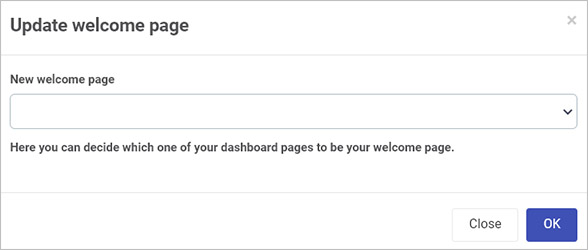
Click on OK to save changes or Close to exit the dialog box at any time.
Themes
Click on a Theme of choice. Options range from two-tone layouts, to those with a dark left-hand side menu as shown in the middle of the image below.

CSS
In this section you can modify the Global CSS File to make changes to the look and feel of the site as well as processes. If you have an existing CSS file, you can access the existing CSS details by clicking on the on the ellipsis button  to open a CSS Editor and add to those details, or click on Browse to browse for a CSS file to add in customised styling. See Global CSS file for more details.
Make sure to click on Save Changes to save any changes made and click on Back to go back to the Subscription page.
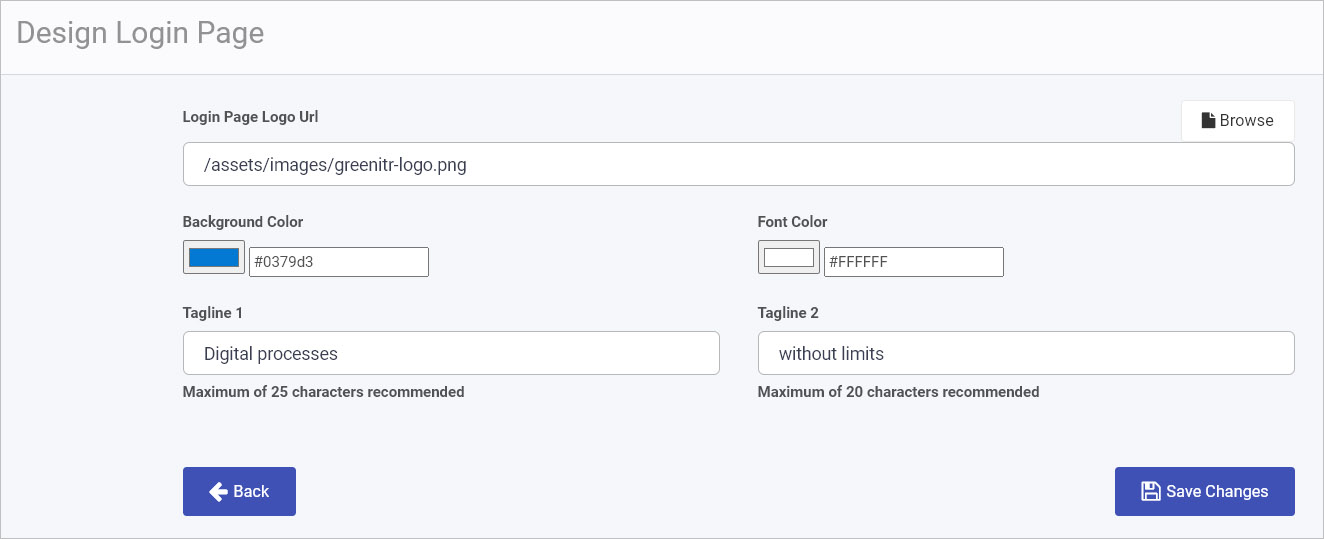
Design Login Page
This section allows you to design the login page, choose background and font colours and complete fields for Taglines.
On this page you can make the following changes:
-
Login Page Logo Url - add/change a logo for the login page to Kianda by clicking on Browse to browse for a logo on your PC or network.
-
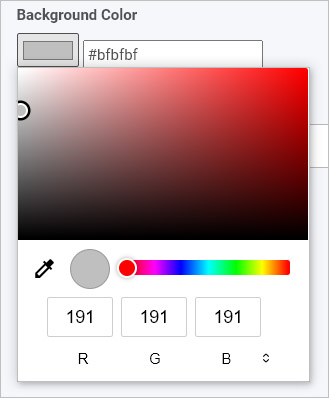
Background Color - to create a background colour for the login page, you can either click on the colour itself and select a colour in the main view, or using the slider, or type in an RGB, HSL or HEX value in the fields above, or click in the box beside it to add in a HEX value for a colour, for example #BFBFBF.
-
Font Color - as with the Background Color, to create a font colour, choose an appropriate colour using the colour box itself or type in a value in the field beside the colour.
-
Tagline 1 - type in the first tagline that will appear under your company logo on the login page. A maximum of 25 characters is recommended.
-
Tagline 2 - type in the second tagline that will appear under your company logo on the login page. A maximum of 20 characters is recommended.

When you are finished making changes click on Save Changes to save any changes made and click on Back to go back to the Subscription page.
Regional Settings
Here you can set your operational time zone and regional settings, such as English Ireland, from the dropdown.

On this page you can make the following changes:
- Regional settings - choose a language setting from the drop-down list.
- Time zone - choose a time zone from the drop-down list.
When you are finished making changes click on Save Changes to save any changes made and click on Back to go back to the Subscription page.
The chosen options are reflected in the text below the fields, for example date and time format.
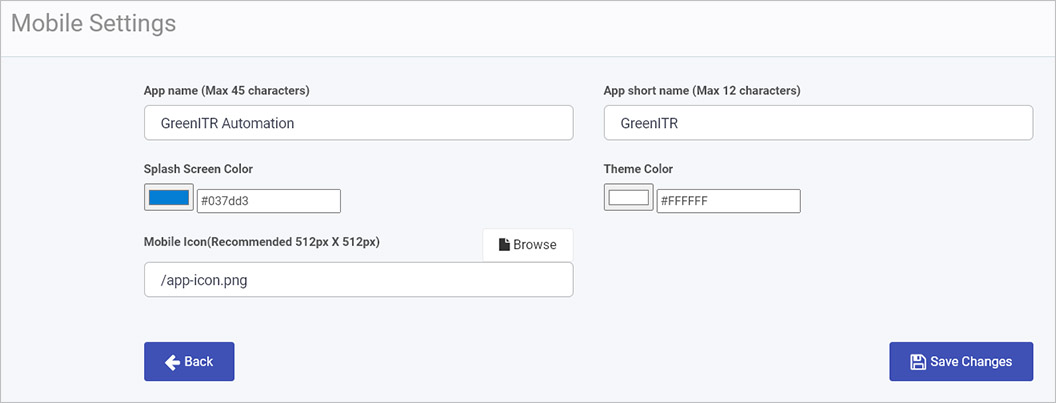
Mobile Settings
Here you can customise how the Kianda workspace will appear to users on mobile devices. You can choose your App name, App short name, Splash Screen Colour, and Theme Colour and upload a mobile size icon (note the icon size is 512 x 512 px).
On this page you can make the following changes:
-
App name - add/change a name to set a custom app name for your app/workspace that reflects your business. A maximum of 45 characters is recommended.
-
App short name - add/change a shortened name for your app/workspace, for user in areas without space for longer text strings. A maximum of 12 characters is recommended.
-
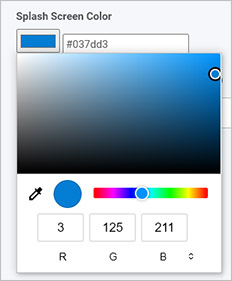
Splash Screen Color - to set the introductory screen colour that appears while your application loads (splash screen), you can either click on the colour itself and select a colour in the main view, or using the slider, or type in an RGB, HSL or HEX value in the fields above, or click in the box beside it to add in a HEX value for a colour, for example #037dd3.
-
Theme Color - as with the Splash Screen Color, choose an appropriate colour for the mobile app theme font using the colour box itself or type in a value in the field beside the colour.
-
Mobile Icon - click on Browse to browse for a logo to add from your PC or network. This will be displayed on the home screen of your users’ mobile devices. The recommended size is 512px x 512px.
When you are finished making changes, click on Save Changes to save any changes made and click on Back to go back to the Subscription page.
Subscription Details
General settings include details like your company name, subscription ID, renewal date and business identity (your workspace URL, for example, green-itr.kianda.com). You can also enable a Global SMTP Mail Connector to enable email flow to/from your Kianda workspace.
Within general settings, administrators can set who the Global Administrator is, or the main administrator for the workspace.
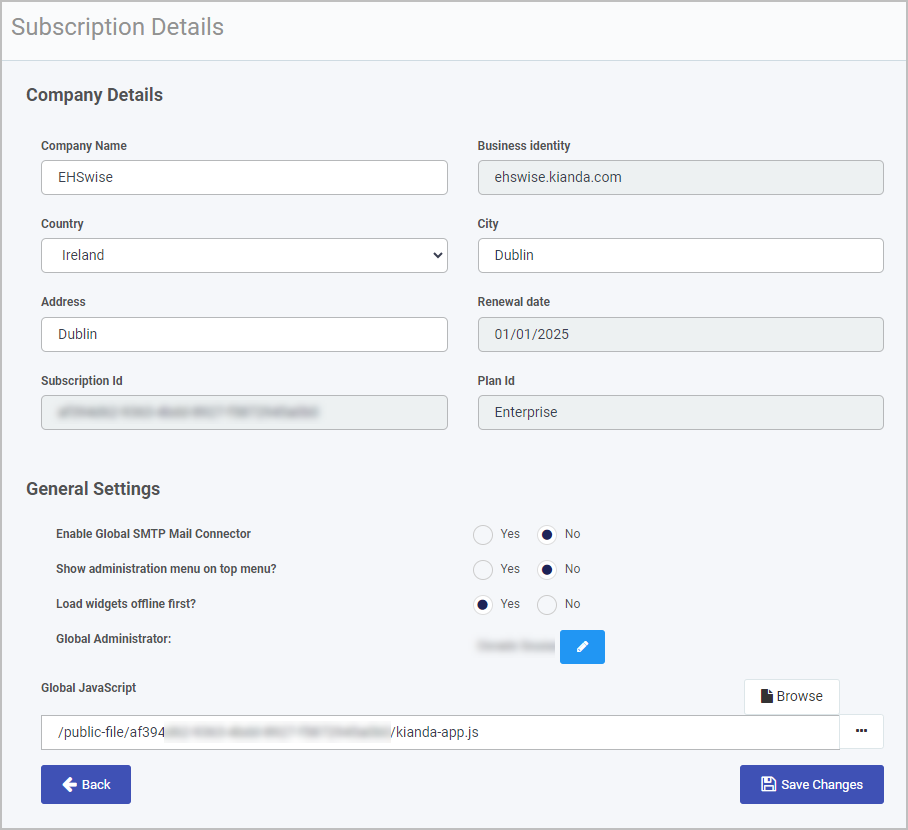
Company details
In this section you can make the following changes:
- Company Name - add in your company name.
- Business identity - the business identity for your company workspace is automatically added in.
- Country - choose a country from the drop-down list.
- City - enter a city into the text field
- Address - add in your company address.
- Renewal date - your subscription renewal date is automatically added in.
- Subscription Id - your company subscription identity is automatically generated. This is needed when you need to perform authorisation to use Instance API.
- Plan Id - your plan Id is automatically added in. For example free, premium and enterprise.
General settings
In this section you can make the following changes:
-
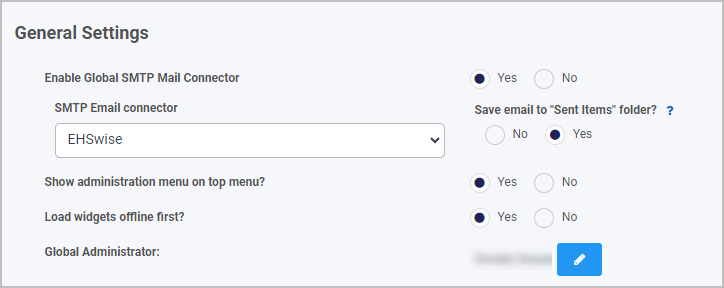
Enable Global SMTP Mail Connector - click on Yes to set a global Simple Mail Transfer Protocol (SMTP) connector used to send emails.
The global connector will ignore all other connectors and will no longer use no-reply@kianda.com as a sender. To enable this you must have an email connector set up in advance. To learn more about email connectors go to Email connector.
In addition you can choose Yes for Enable save to Sent Items so that sent email are automatically saved in a ‘Sent items folder’.
-
Show administration menu on top menu? - selecting ‘Yes’ positions the administration menu on the top right toolbar beside the My profile section, and is then removed from the left hand navigational pane.
-
Load widgets offline first? - selecting ‘Yes’ will prompt the platform to load widgets in offline mode first. This is an optional flag that enables dashboard and process widgets to be loaded faster from the offline cache. It can be useful if you consistently interact with your environment when you are in areas of poor network connectivity.
-
Global Administrator - change the global administrator of your company’s Kianda platform from the list of users that are in it.
-
Global JavaScript - allows you to create a JavaScript file with custom functions as helper or action functions allowing you to perform any functionality you may want. The file is accessible globally and will load when the application first starts. Go to Global JavaScript file for more details.
When you are finished making changes click on Save Changes to save any changes made and click on Back to go back to the Subscription page.
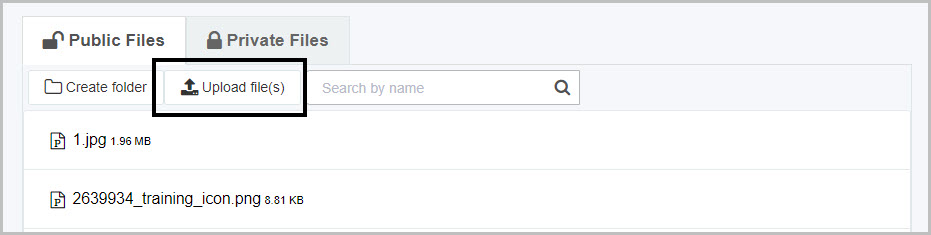
Storage files
You can access this section by clicking on Storage Files in the main Administration > Subscription page. Here you can see all public and private files that are in your platforms storage. You can search for files using the search box and navigate between Public and Private files using the provided tabs.
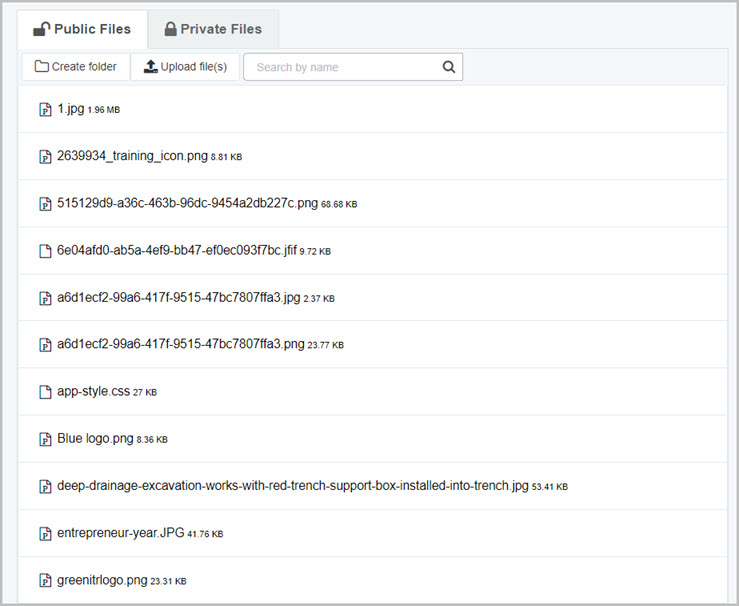
Upload file(s)
To upload a file to Storage files, click on the  button.
A file explorer will open in which you can select multiple files to upload to you platform.
Create folder
To create a folder, click on the  button.
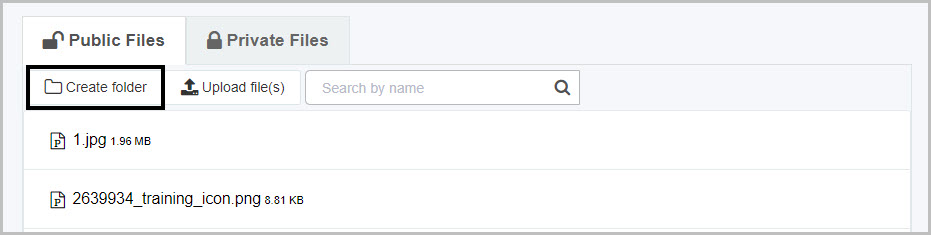
The folder will appear alphabetically in the main view where you can see all your files. To upload a file into folder, first, you need to click on the folder name to open it and then click on button.
At any time, you can go to left-hand side menu and click on Subscription to edit any of the settings for the headings above.
What’s next 
To read more about how to create processes and forms go to Application Designer.
To find out about help and support, go to Help.
Feedback
Was this page helpful?
Glad to hear it! Please tell us how we can improve.
Sorry to hear that. Please tell us how we can improve.