Shared processes
Introduction
A Shared Process is a process which you create within your own subscription with the intention to share with your B2B Portal. This process, as with all processes, can be used to review data, create new instances, update or delete instances.
Within a shared process, you can also create a Shared Dashboard which is a dashboard created within your own subscription with the intention to share with your B2B Portal. This dashboard, as with all dashboards, can be used to review data, access Shared Processes by creating new instances, updating or deleting instances.
When to use
Using the Shared Process feature will allow users within the B2B Portal to have access to a process you have created. By sharing this process you will give your partner the opportunity to work on the process by updating, creating and deleting instances.
It terms of dashboards, it is necessary to share your dashboard with your B2B Portal when sharing processes and dashboard widgets with your Client. Before you can share a dashboard you must first create one. This dashboard can be one that you have already created, however, we recommend creating a unique dashboard that will be used specifically for sharing with B2B Portals. Go to Dashboards to learn more about how to create dashboards.
The following sections will step through how to share a process (steps 1-3) and share a dashboard (step 4) and how to conclude and update partners (steps 5-6).
How to get started
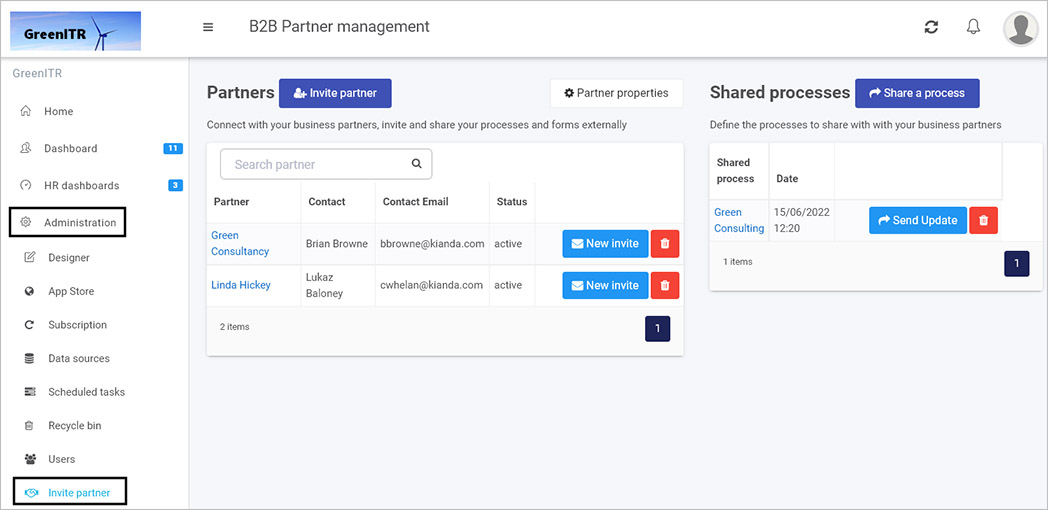
Log into your subscription and navigate to the Invite Partner section located within Administration. Your role needs to be Administrator or Manage partner to view Invite Partner. Using one of these roles:
-
Navigate to Invite Partner within the Administration section.
-
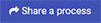
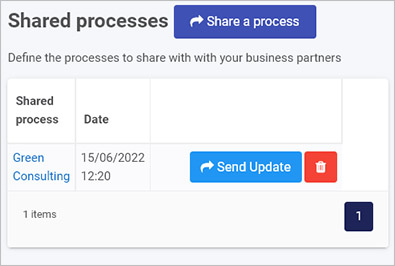
In the Shared processes section, click on the Share a process button
 .
. -
The Create a Shared Process dialog box opens.
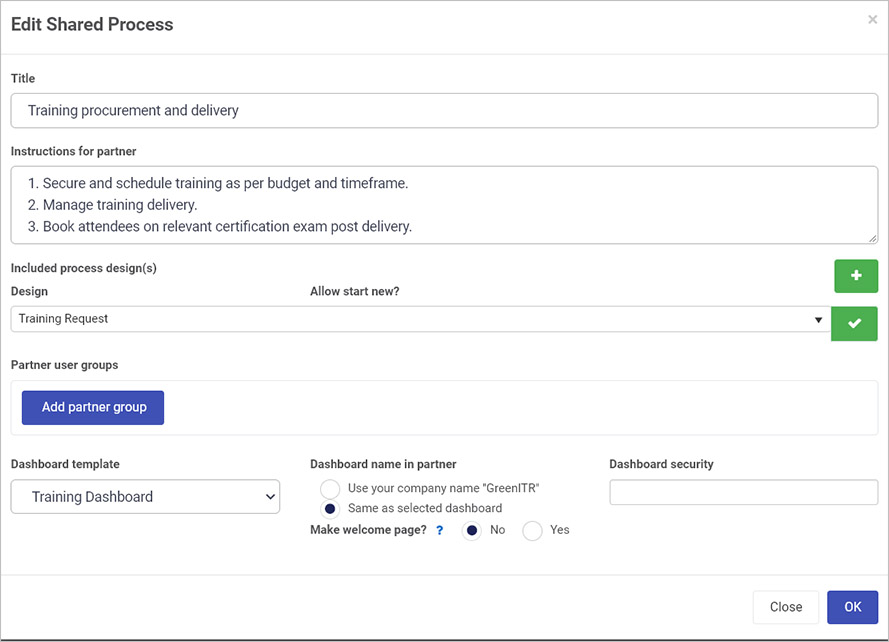
Populate the fields as desired:
-
Title - provide a title for the shared process
-
Instructions for partner - provide instructions for the selected partner
-
Click on the plus symbol
 to add a selected process design to share. Then click on the dropdown list to search for a process to share.
 -
Click on the tick symbol
 to add the selected shared process. To change the selected shared process properties by clicking on the Cog/Settings button
  or delete the selected shared process by clicking on the Bin/trash button
  .
.
-
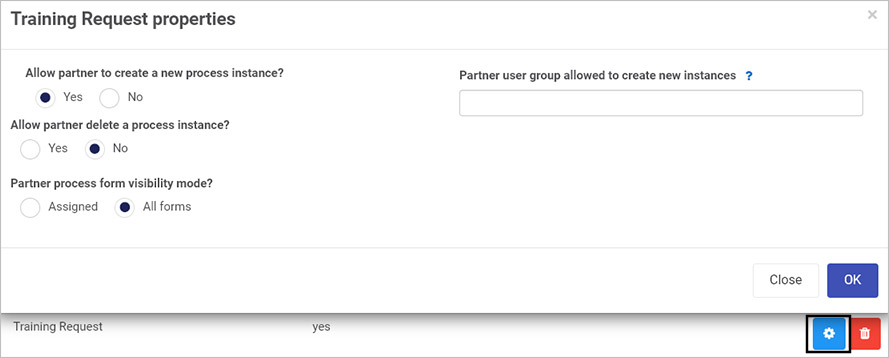
If you click on the Cog/Settings button
a Process properties dialog box appears, as shown above, for example Training Request properties. You can check radio buttons for:-
Allow partner to create a new process instance - choose from Yes or No. If you choose Yes, then you are allowing invited partner(s) to create new process instances from the chosen shared process design.
-
A field Partner user group allowed to create new instances appears, where you can define the group(s) in the partner organisation, that can create these new process instances. This is the first level of security for processes and dashboards. If you leave the field blank, then anyone in the partner organisation can create process instances.
-
Allow partner delete a process instance - choose from Yes or No. If you choose Yes, then you are allowing invited partner(s) to delete new process instances from the chosen shared process design.
-
Partner process form visibility mode - choose from Assigned or All forms. If you choose Assigned, then the invited partner(s) can view only assigned form versus all forms, if All forms is chosen.
-
When you are finished editing the dialog box, click on OK, or else click on Close to exit the dialog box at any stage.
-
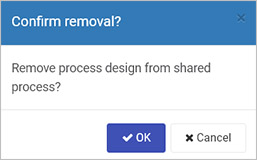
If you click on the Bin/trash button
then a pop-up appears to Confirm removal, choose from OK or Cancel.
-
Click on the Tick symbol
to add further selected processes to share. -
Click on the Add partner group button to add one or more partner groups. Click on the Bin/trash button
to delete partner groups.Information on dashboard parameters under Add partner group is found under the heading below.
-
-
-
Shared dashboards
There are a set of dashboard parameters under the field Add partner group. These are:
-
Under Dashboard template click on the dropdown list to select an existing dashboards to share with the selected processes. If you choose to share a dashboard then you can select parameters:
-
Dashboard name in partner - choose from Use your company name ‘Name of your organisation’ or Same as selected dashboard
-
Make welcome page - choose from Yes or No. If you choose Yes then the selected dashboard becomes the welcome page for the partner if no other welcome page is configured.
-
Dashboard security - choose from created partner groups within this field to ensure that only users in these partner groups can access the dashboard. This is the method to set security on the dashboard specifically.
-
-
When you are finished editing the dialog box, click on OK, or else click on Close to exit the dialog box at any stage.
-
Once you have completed configuring or modifying the Shared Process you will need to send the shared process to your partner. To do this press the Send Update button which appears in the main view of the Shared processes section.
What’s next 
Once you have successfully creating a shared process and dashboard, these will be available in the B2B Portal for partners, for example when your partner users log into the B2B Portal they will be able to see the newly shared dashboard. From here they will be able to see the widgets within the dashboard and interact with the Processes. Go to the Secure Data Access to read more about security in shared processes and data sources.
Feedback
Was this page helpful?
Glad to hear it! Please tell us how we can improve.
Sorry to hear that. Please tell us how we can improve.