Office 365
One of the datasources available in Kianda is a connector to Office 365. Kianda has the ability to read users’ profiles, extract data, update users and groups and enable Single Sign-On (SSO). The Office 365 datasource can be used for example to automatically import users using a scheduled task within Kianda or with individual Kianda processes to update the configuration of users and groups within Office 365.
When to use
If you have an Office 365 subscription, you can create an Office 365 data connector so that Kianda can access data and manipulate data at that data source.
Note: To create this datasource you need to have an Administrator or Manage datasources role in Kianda. You also need to be an administrator in Office 365.
How to get started
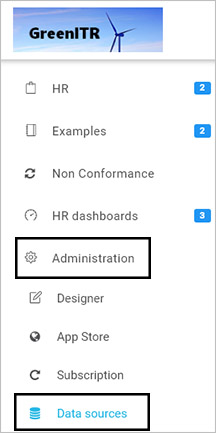
An Office 365 data connector can be configured by users with the role Administrator or Manage datasources. These users can access the datasource management function, found under Administration > Data sources.
-
From the Kianda home page, click on Administration > Data sources.
-
In the main view you will see any existing data sources that have been created. From this view, you can click on the name of a data source to see details or delete a data source by clicking on the Bin/Trash button
 .
. -
Click on + Add new button
 and a range of data source connectors will appear.
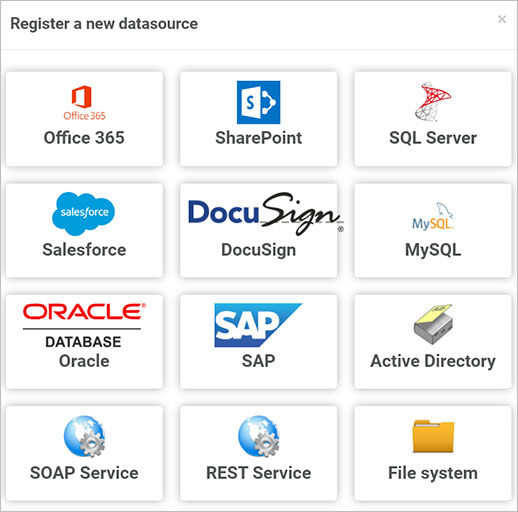
-
Click on Office 365.
-
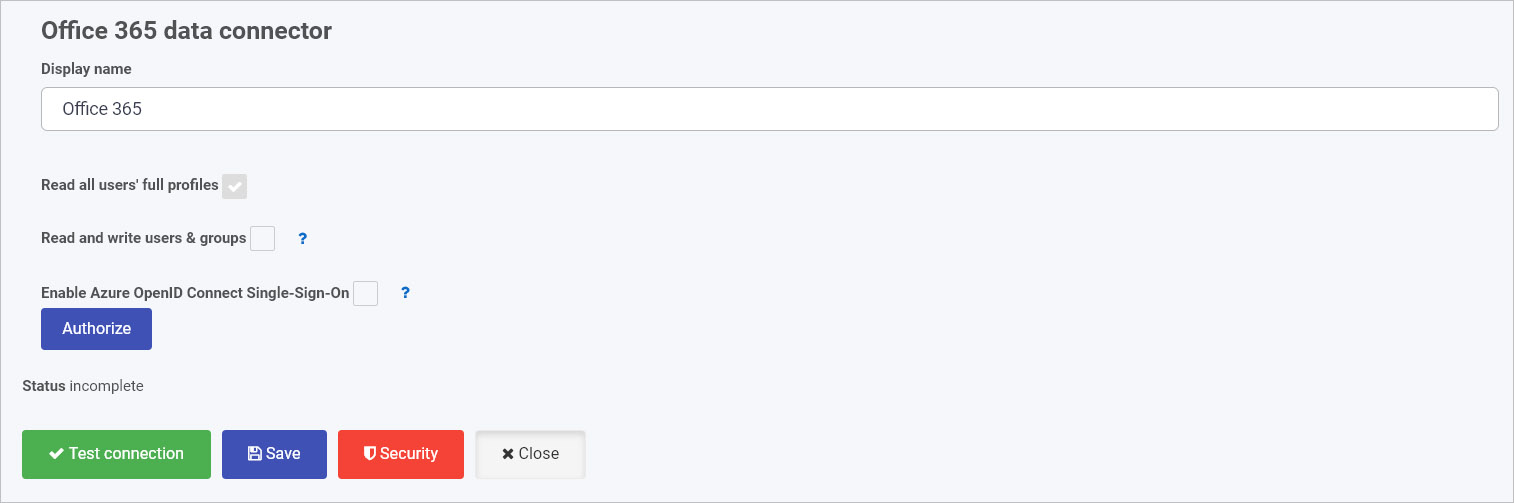
The Office 365 data connector screen opens.
-
Fill in the first set of fields:
-
Display name – this is the name of the data source. Use an appropriate name, as this will be used within your process(es).
-
Read all users’ full profiles – by default, this is enabled and cannot be disabled. This allows Kianda processes to read all user profiles that exist in Office 365.
-
Read and write users & groups - by checking this option it will allow Kianda the rights to read users and group information and update information, performing ‘write operations’ in Office 365, such as assigning a user license and adding users to groups.
-
Enable Azure OpenID Connect Single-Sign-On - checking this checkbox enables a user to sign into Kianda using their Office 365 login. For more details see the SSO page.
After these details have been completed, you will need to Authorize the connection as the datasource will have a status of incomplete until authorised. When authorized for use, the status will be ready.
-
Authorize the connection
-
Before the datasource can be used it will need to be authorised. Click on the Authorize button
 .
. -
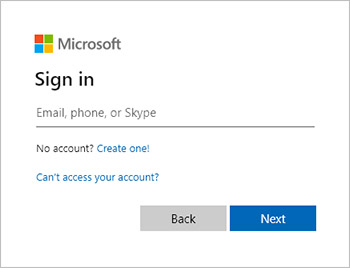
A pop up appears asking you to sign in to your Office365 account. You must be an administrator in Office 365 to complete authorization.
-
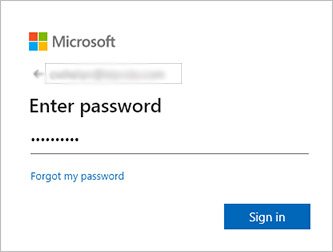
Enter your email and click on Next.
-
Then enter your password and click on Sign in.
-
Click on Yes to Stay signed in.
-
If your details are correct and you are an administrator, then you should receive a notification saying Connection test succeeded and the status changes to ready.
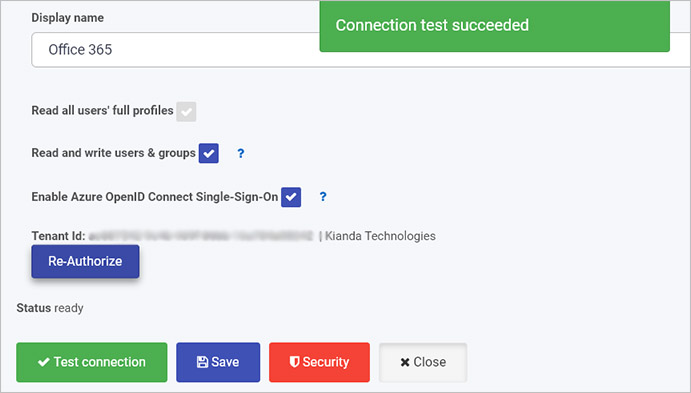
The Authorize button changes to Re-Authorize. If authorization is removed from within Office 365, the datasource will need to be re-authorized from within Kianda. In addition, Microsoft security policy requires the connection to Office 365 to be re-authorized every 6 months. To re-authorize, click on the Re-Authorize button and repeat steps 2 to 5 above.
-
Click on Save
 to save the connection and you will receive a notification saying Details saved successfully.
 -
Add Security settings by clicking on the Security button, go to Setting security for data sources for more details.
-
Click on Close to close the details page and return to the datasource management main view.
Office 365 parameters
When you use an Office 365 datasource, there are default options that can be passed as parameters, for example when using conditions with Office 365 data connectors. These are:
- User List
- Group List
- Find Users
- Find Groups
- Create Group
- Add User to Group
- Remove User From Group
- Licence Plan List
- Assign Licence to User
- Remove Licence from User
What’s next 
Your Office 365 connector is now set up and ready to be used in your processes. To find out more about how to design processes go to Designer.
Feedback
Was this page helpful?
Glad to hear it! Please tell us how we can improve.
Sorry to hear that. Please tell us how we can improve.