REST Web Service
One of the datasources available in Kianda is a connector to a REST API. Kianda has the ability to perform GET, POST, PUT and DELETE operations if they are supported by the webservice. The REST API datasource can support multiple REST methods, all of which can be called independently. Data from the webservice can be pulled into your Kianda workspace and manipulated, or data from Kianda can be pushed to the webservice to be used by other systems.
When to use
You can create a REST API datasource when you want your Kianda processes and forms to have access to a REST API.
How to get started
A REST API data connector can be configured by users with the role Administrator or Manage datasources. These users can access the datasource management function, found under Administration > Data sources.
-
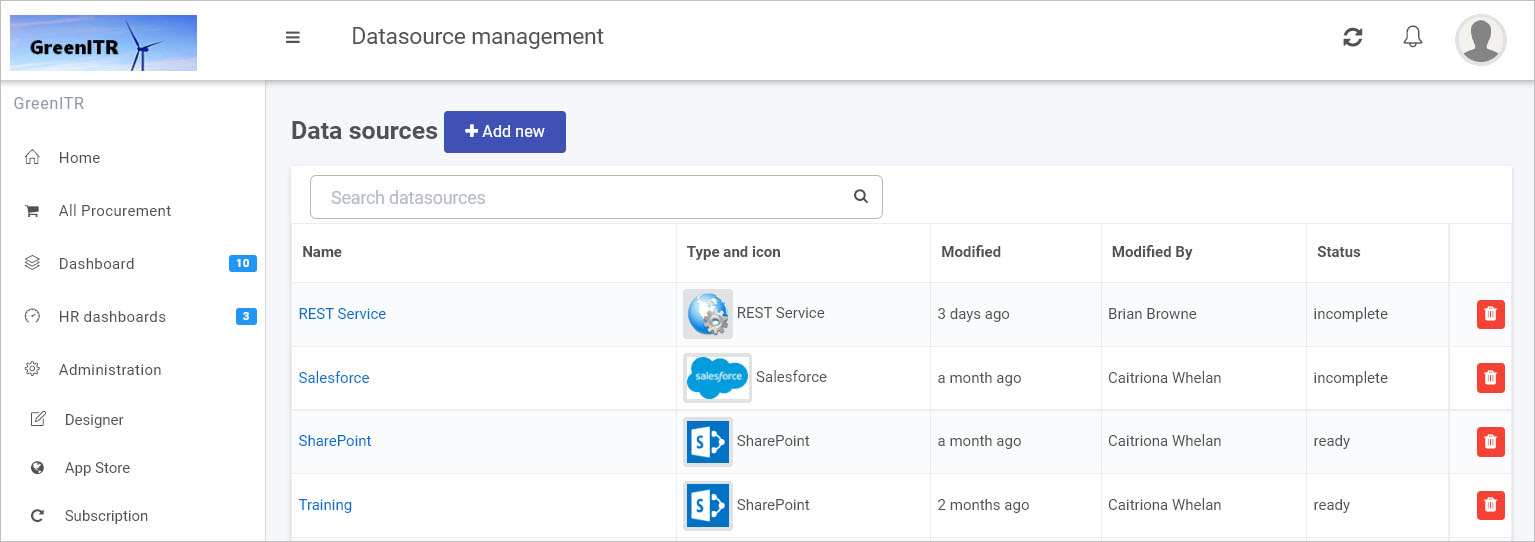
In the left-hand side menu, go to Administration > Data sources.
-
In the main view you will see any existing data sources that have been created. From this view, you can click on the name of a data source to see details or delete a data source by clicking on the Bin/Trash button
 .
.
-
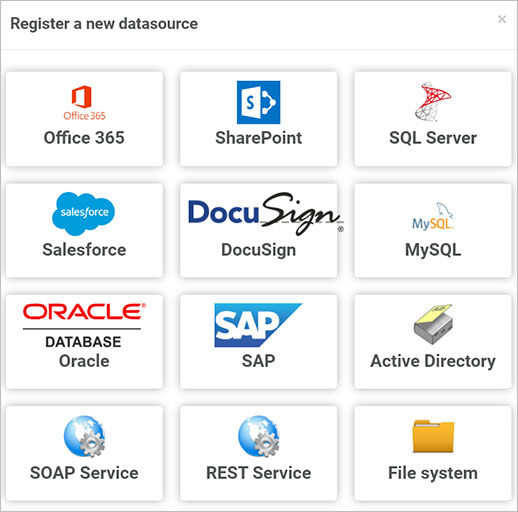
To create a new data source, click on the Add new in the main view. A range of data source connectors will appear.
-
To add a REST Service data source click on REST Service.
-
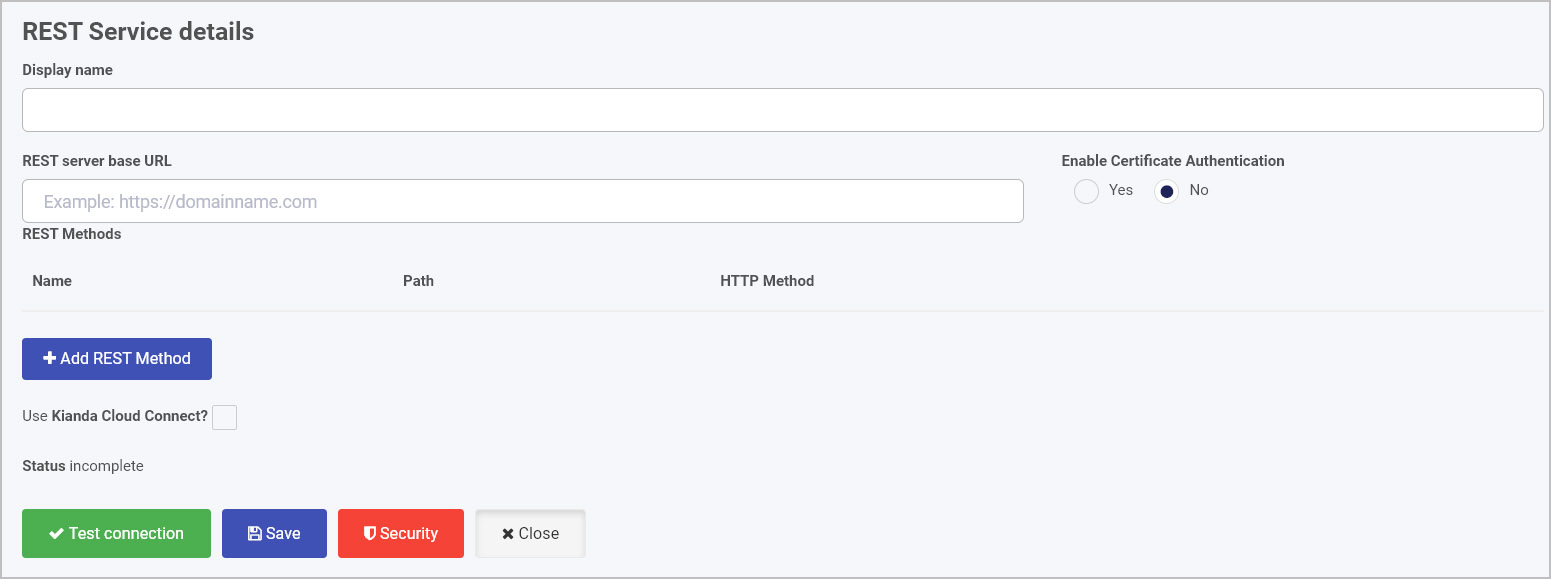
The REST Service details screen opens.
-
Fill in the first set of fields:
-
Display name – This is the name of the data source. Use an appropriate name, as this will be used within your process(es).
-
Rest server base URL – This is the base URL of the REST API. Ensure there are no trailing characters, for example “(https:)//api.mywebsite.com”
-
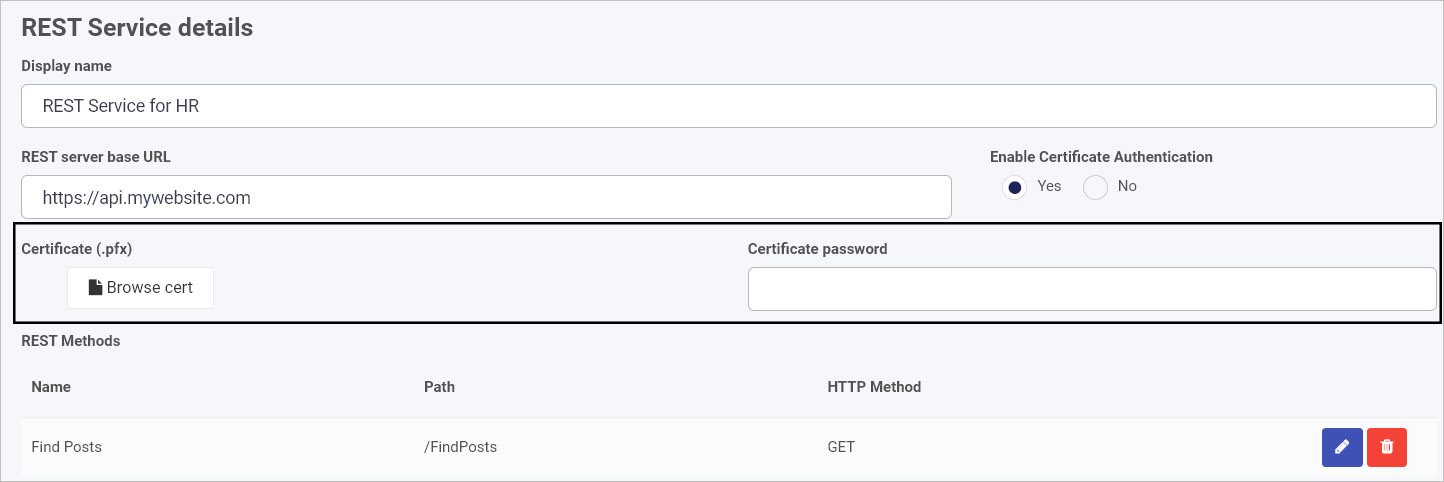
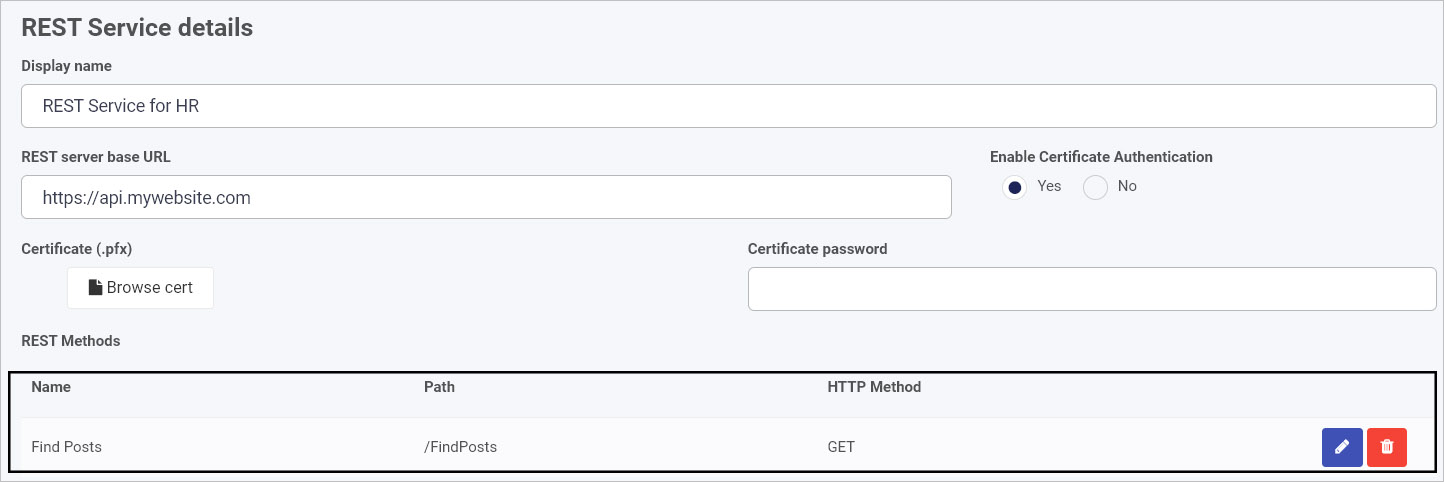
Enable Certificate Authentication – By default this option is set to No. By Selecting Yes this will display two new fields:
-
Certificate (.pfx) – This is a file field which you can use to upload your authentication certificate.
-
Certificate password – Enter the password of the certificate here so the Kianda platform will be able to use it.
-
-
-
Under the Service details section, is a the REST Methods section. If there are any existing methods created, for example to find and retrieve particular information using HTTP GET, the method will be listed here. Go to REST Methods to find out more about how to add a method. To find out more about Kianda REST APIs, go to APIs.
-
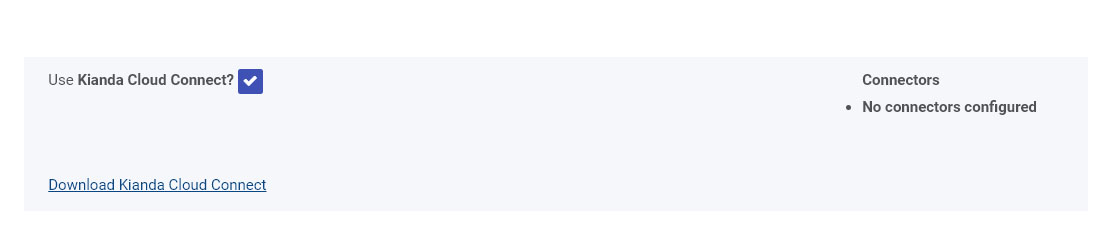
Under the REST Methods on the REST Service details page, there is a check box to Use Kianda Cloud Connect? If you check this checkbox it gives you an option to Download Kianda Cloud Connect. Click on Download Kianda Cloud Connect to download a zip file.
-
When you have added REST Service details, you are ready to test your connection and add security. At the bottom of the REST Service details page, click on Test connection button
 and if the service has been correctly configured, then you should receive a notification saying Connection test succeeded.
In the event of an error, you will receive a message that relates to the error, for example a null or incorrect URL as shown in the example below:

-
Click on Save
 to save the connection and you will receive a notification saying Details saved successfully.
 -
Add Security settings by clicking on the Security button, go to Setting security for data sources for more details.
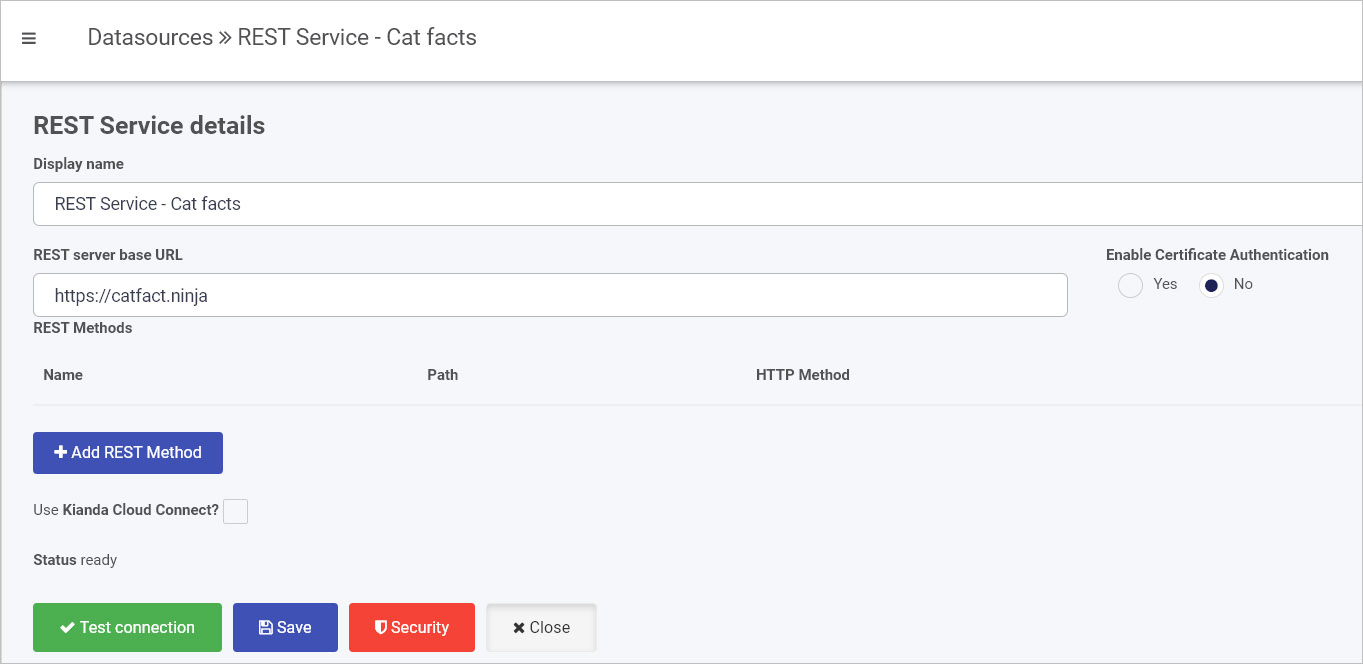
Here is an example of a data connector for a REST Service called ‘Cat facts’. We will use this example to create a REST method, see section below.
REST Methods
A list of current REST Methods that have been created in Kianda will appear, listed by Name, Path and HTTP Method, where:
-
Name - is the name of the method, for example to get a list of course attendees, which could be called ‘Course Attendees’
-
Path - is the address that allows you to access the API, also called endpoints, for example /instances or /processes are endpoints for Kianda REST APIs that allow you to perform methods on process instances and process designs respectively.
-
HTTP Method - is the type of operation that can be performed on the data, namely POST (create), GET (read). PUT (update). PATCH (partial update) and DELETE (delete).
These details are shown in the example below, a data connector called ‘REST Service for HR’.
You can edit details of the existing REST Methods by clicking on the Edit/Pen button  or delete a method by clicking on the Bin/Trash button
  .
.
How to add a new REST Method
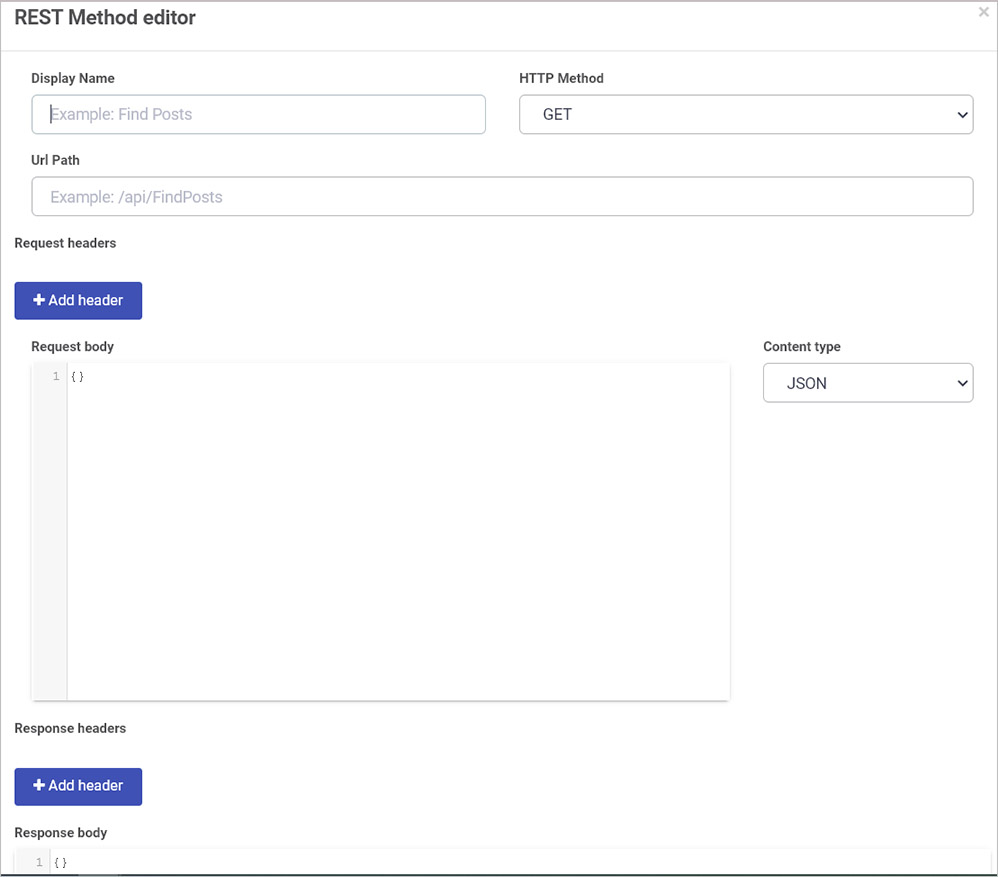
- Click on the +Add REST Method button. The REST Method editor dialog box appears.
-
Fill out the fields:
-
Display Name – this is the name you want to attribute to the REST Method.
-
HTTP Method – this is the HTTP Method of the REST Method.
-
Url Path – this is the rest of the URL that will be concatenated with the Rest server base URL. For example /rest/GetUserDetails.
-
Request headers – Request headers can be manually added here that need to be sent as part of the request, for example, Authorization. These values can be hard coded or passed into the Request header from the process. Click on Add header to add a request header.
-
Request body – This section is for the Request body that will be used during the request. These values can be hard coded or passed into the Request body from the process.
-
Content type – Here you can define the Content type of the body. The options are JSON and Form Data.
-
Response headers – Here you can define any response headers you wish to capture in the response that you want to use in Kianda. Click on Add header to add a response header.
-
Response body – Here you can define the response body that the request will receive. Include or remove fields as needed.
-
-
When you are finished editing the dialog box click on OK to save your changes, or click on Close at any time to exit.
See Example of REST Method use in Kianda below which can be used as a service with the connection.
Example of REST Method use in Kianda
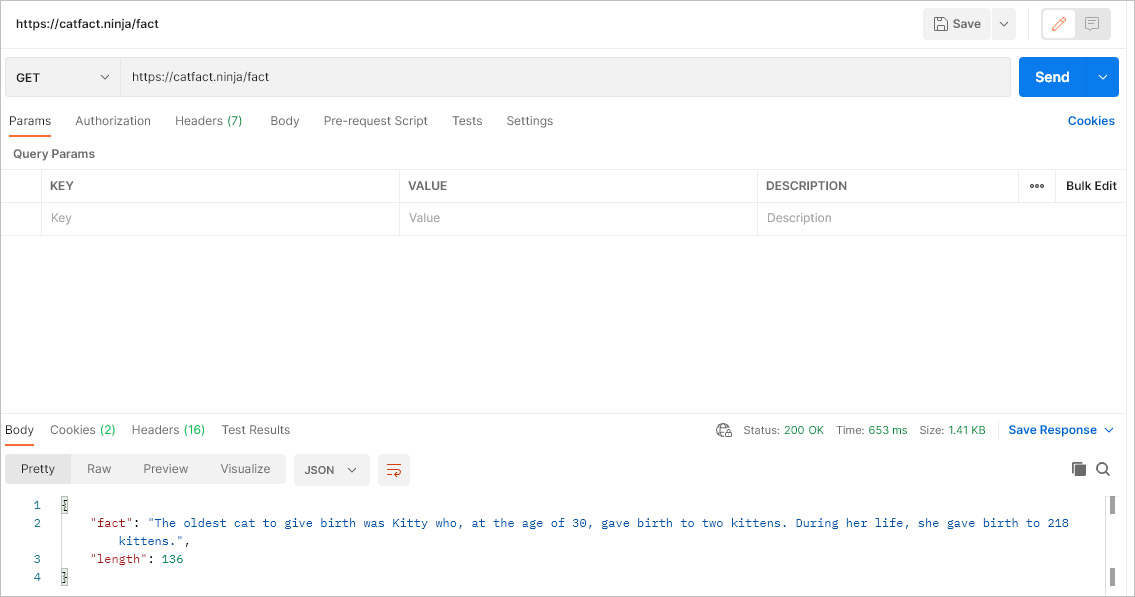
Take an example of https://catfact.ninja/fact a well-known API that provides an endpoint to retrieve random facts about cats.
If a simple GET method is used to retrieve facts using an API client, then parameters are returned showing the ‘fact’ and the ’length’ of the fact as shown below.
Knowing what parameters are available we can use the steps in How to add a new REST Method,:
-
Click on +Add REST Method
 from the REST Service details page, and add in details using the REST Method editor where:
-
Display Name - this is the name of your method that will be called upon in a process, for example ‘Cat fact’
-
HTTP Method - GET is used to retrieve values
-
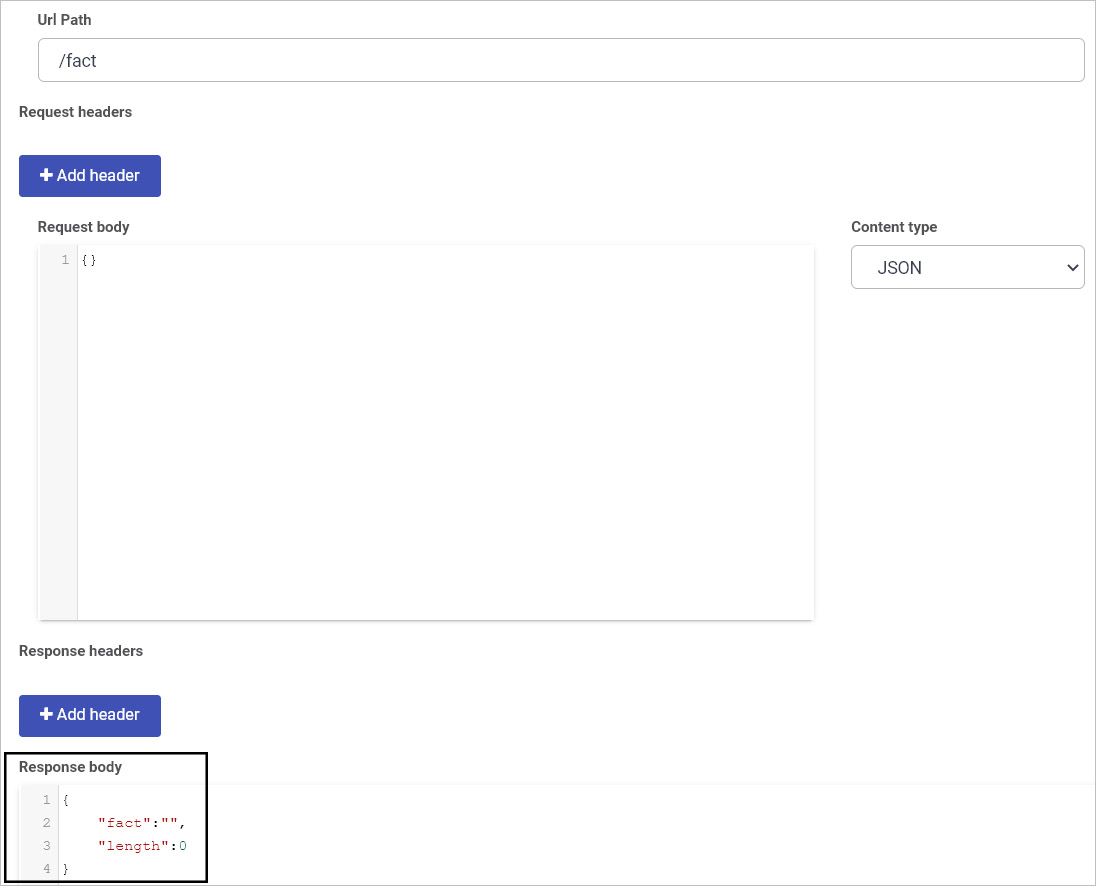
Url Path - the path that is attached to the base URL, for example /fact
-
Click on Add Header
 to add request headers, for example for authentication.
 -
Request body - this is the part of the request that is sent to a function where a function processes the request and sends back the Response body. For our ‘catfact ninja’ example we will use the parameters ‘fact’ and ’length’ for mapping values to form fields in Kianda processes:
-
Click on OK to save the details and then click on Save
 in the REST Service details screen to save the connection.
-
The method will appear under REST Methods in the details screen.

The next section shows how data at the data source can be used in a Kianda process.
Using a REST Method in a Kianda process
To see how ‘catfacts’ are mapped into Kianda processes, create a new process, add fields and a rule that uses the REST Method created above.
-
To create a new process by going to the left-hand side menu > Administration > Designer and click on Add new
 and fill out details for the process, such as a Title and Description. Click on OK when complete.
 -
Kianda Designer opens and in the first form, form1, add in a new text box by going to the left-hand pane and click on Controls > Input > Text box. This field will hold the value of the ‘fact’ from catfacts. To read more about Input controls go to Input controls.
-
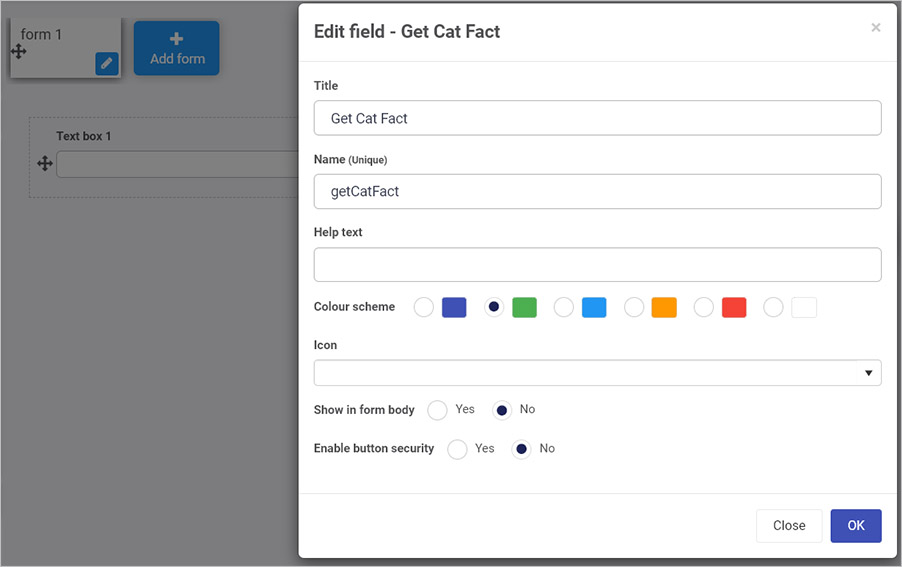
Add a button to initiate the call from catfacts by going to the left-hand pane Controls > Actions > Button. Give the button a title for example ‘Get Cat Fact’, and choose No for Show in form body so the button appears at the bottom of the form. To read more about Action controls go to Actions.
-
To dynamically populate the textbox with a fact, we need a rule. Click on ‘Get cat fact’ button to add a rule. Then go to Rules > Data > Find items.
-
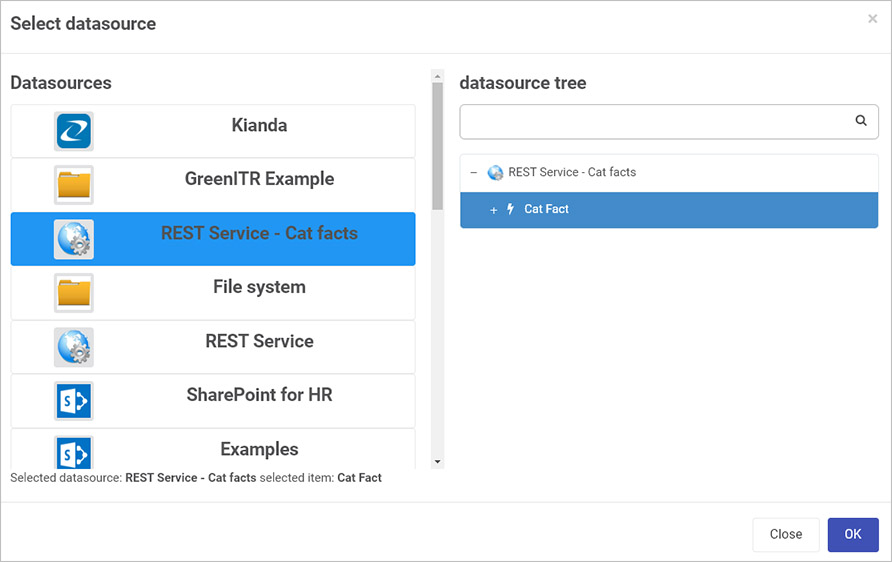
Give the rule a title, and under Action, click on Select data source to select the data source created using the steps in How to get started. Select the method ‘Cat fact’ created using the steps above in Example of REST Method use in Kianda.
-
Click on OK to close the dialog box.
-
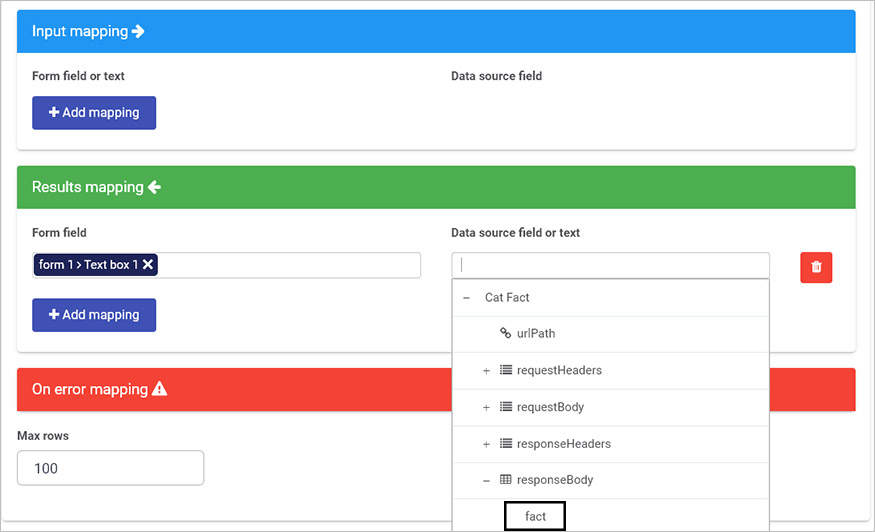
If you want to add headers to the request use the Input mapping for example requests headers for authentication, otherwise click on the Bin/Trash button to delete the input mapping fields.
-
Under Results mapping select the textbox from your form for the Form field and under Data source field or text navigate to ‘fact’ from the responseBody as shown below.
-
Add Error mapping if desired. Click on the links to read more about Error mapping and Find items rule.
-
Save the process by clicking on the Save button
and preview the process by clicking on Preview  . In the previewed instance, click on the ‘Get Cat Fact’ button to populate the textbox.
What’s next 
Your REST Service is now set up and ready to be used in your processes. Check out the following article on how to implement a REST Service in order to refresh an Access token.
To read more about APIs, go to APIs.
To read more about processes and forms, go to Application designer.
Feedback
Was this page helpful?
Glad to hear it! Please tell us how we can improve.
Sorry to hear that. Please tell us how we can improve.