Custom controls
Custom fields are a fourth category of controls that are only available to you as a Designer in Kianda if Custom controls have been created by an Administrator or Designer in your Kianda workspace.
How to get started
To add a Custom field to a Kianda form:
-
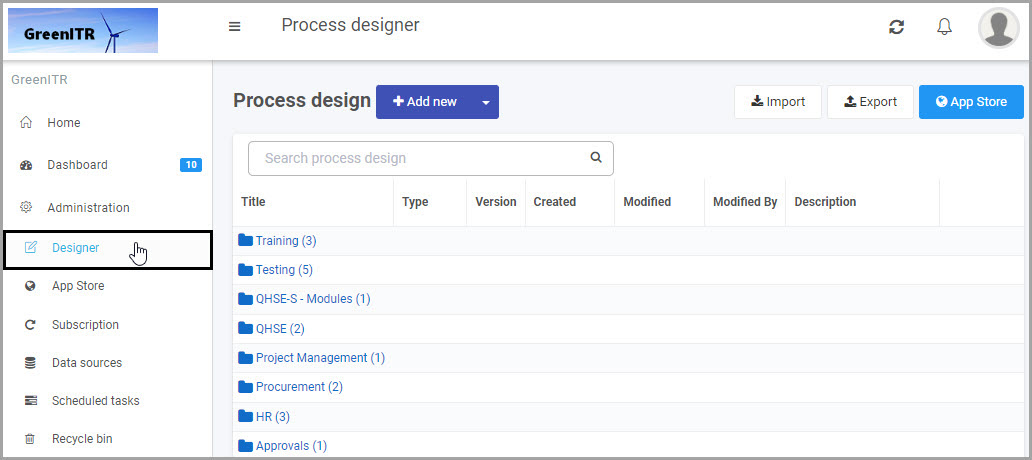
Open an existing process by going to Administration > Designer in the left side menu and clicking on a process, or create a new process in Designer. See Create First Process to learn how to create your first process.
-
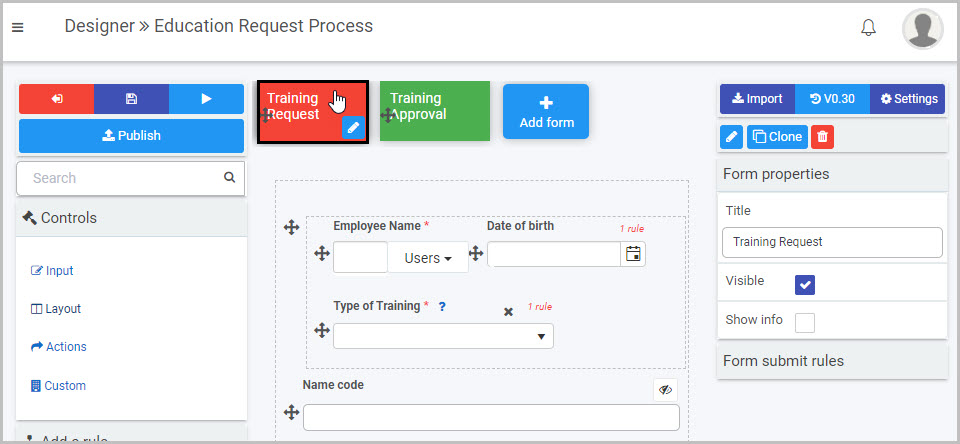
Once you have opened your process, select the form you want to work on (so that the Edit Form button
 is shown).
In this example, a Training Request form in an Education Request Process has been selected:
-
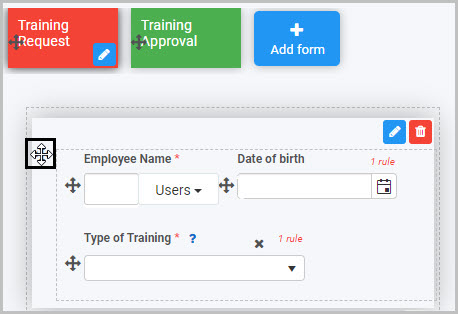
Select the area within the form where you want to insert the new Custom field - in our example, we will select the first panel in the Training Request form:
-
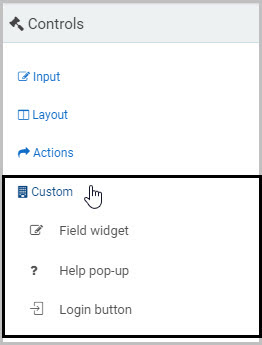
Click on Controls in the left-hand pane, and, from the four categories of Controls (Input, Layout, Actions and Custom), click on Custom.
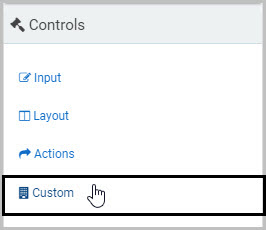
Note: This fourth category of Controls will only be available to you if Custom controls have been created by Administrators or Developers in your Kianda workspace.
-
The Custom fields available to you will be shown in the expanded Custom menu - in the example shown here, there are three Custom fields available to the form Designer:
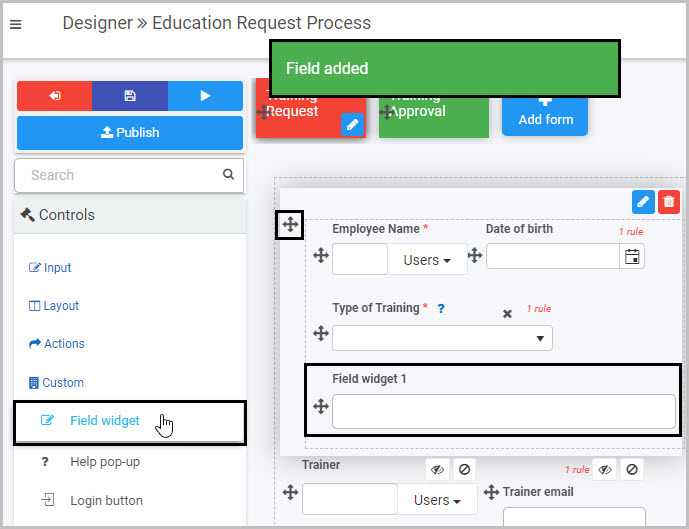
Click on the Custom field you want to insert and it will be added to your form at the bottom of the form section you have selected.
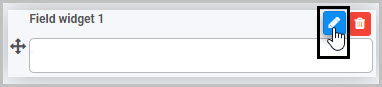
In our example, we can click on the first Custom field listed in the Custom sub-menu - Field widget - the new Custom widget (‘Field widget 1’) is added to the bottom of the panel we had selected and a pop-up message says ‘Field added’:
-
You can then edit the new Custom field as you want - to do this, select the Custom field (by either clicking on its field title or on its drag handle button
 ) and then click the Edit field button.
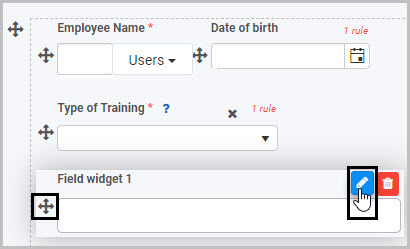
The Edit field dialog box will open, showing the range of options available for that particular Custom field.
How Custom controls are created
A Kianda Administrator or Developer can create Custom controls by opening the Administration menu from the left-side menu and clicking on Developer:
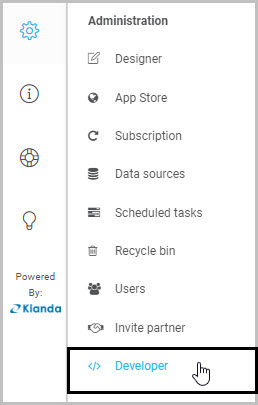
The Developer resources page opens and displays all of the Custom widgets that have been created - these include Custom field widgets, Custom rule widgets and Custom Dashboard widgets.
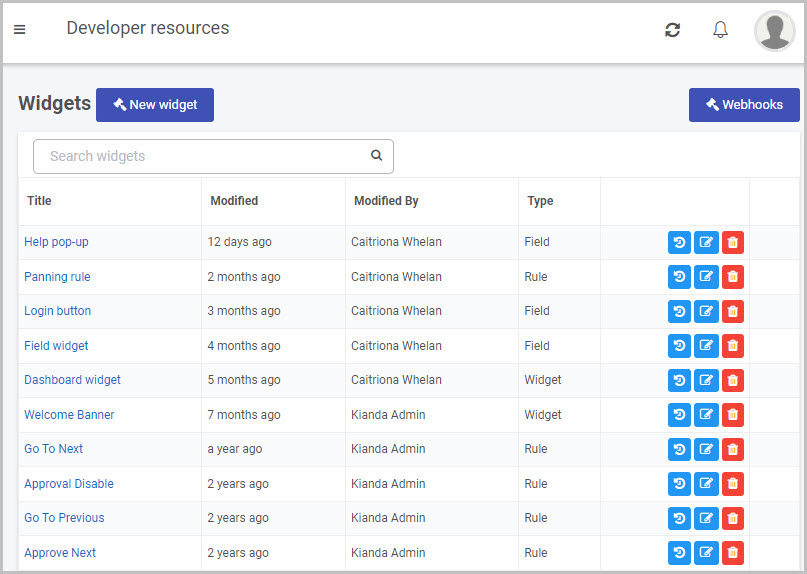
Note: Only Custom field widgets will be shown in the Custom controls menu in Kianda Designer - that is, only Custom widgets with a ‘Type’ of ‘Field’.
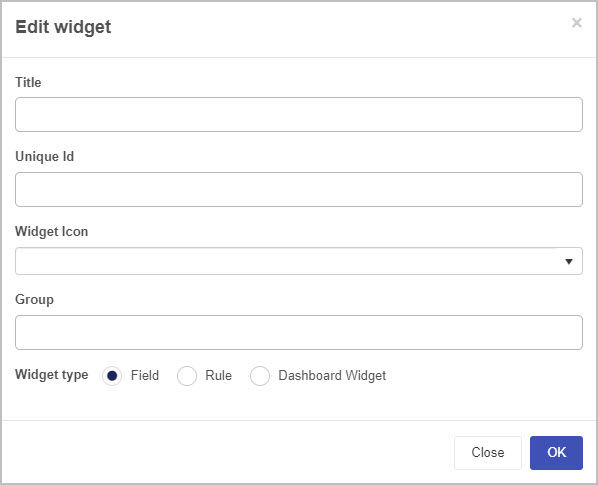
To create a new Custom Widget, the Developer/Administrator clicks on the New widget button  .
.
An Edit widget dialog box opens, in which the Title, Unique ID, Widget icon and Widget type can be chosen:
When the Developer/Administrator completes the dialog box and clicks on OK, a workspace opens where they can create their Custom widget:
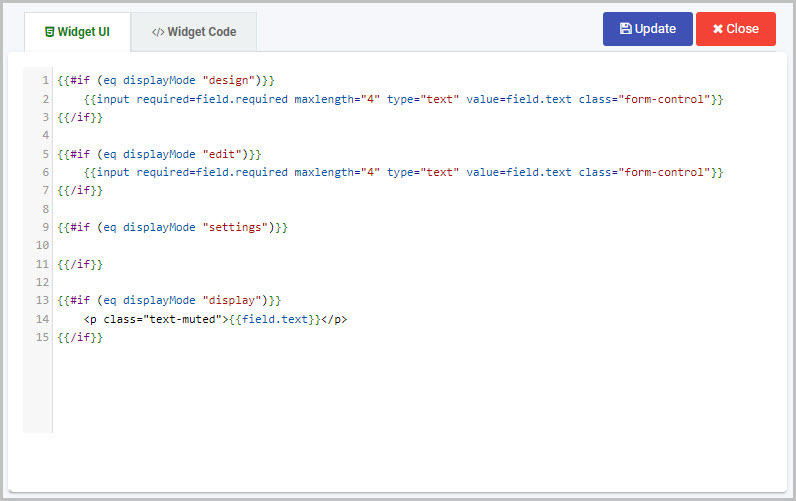
Once a Custom field widget has been created, Designers will then be able to see and use that Custom field widget in the Custom section of the Controls menu when designing Kianda forms.
To learn more about how to create Custom field widgets, go to Creating a custom field widget.
How to edit, move and delete Custom fields
To edit a Custom field:
- Select the field (by either clicking on the field title or drag handle button )
- Click on the Edit field button (Pen icon)
The Edit field dialog box will open, enabling you to choose from a range of options specific to that particular Custom field. The functionality of the field will depend on what the Custom field was designed to do.
To move a Custom field:
- Select the field’s drag handle button
- Drag and drop the field wherever you want to move it to within your form.
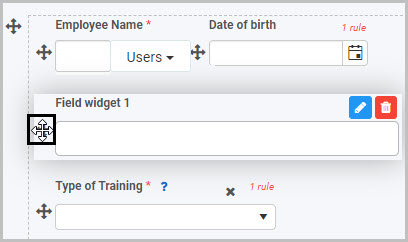
In our example, we could drag and drop the new Custom field titled ‘Field widget 1’ so that it comes before the ‘Type of Training’ List field:
To delete a Custom field from your form:
- Select the field (by either clicking on the field’s name or its drag handle button )
- Click on the Bin/Trash button

- Click on OK to confirm.
How to view or edit Custom control Field properties
To view or edit the Field properties associated with a Custom field, select the field (by clicking on the field title or its drag handle button ) - the Field properties menu will appear in the right-hand pane.
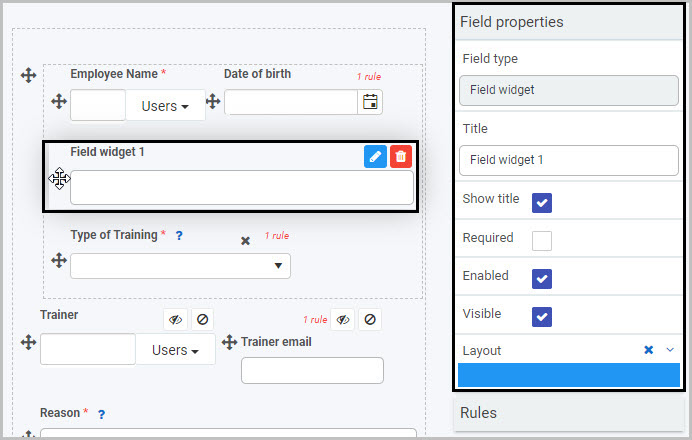
In the example shown here, a Custom field titled ‘Field widget 1’ has been selected and the Field properties associated with this field are shown in the Field properties menu to the right, including:
-
Field type - For Custom field widgets, the ‘Field type’ will be ‘Field widget’.
-
Title - The Title of the field, in this case ‘Field widget 1’. You can change the title here, in Field properties, or in the Edit field dialog box.
-
Show title - If this is selected, the Custom field title will be shown in the form.
-
Required - If this is selected, the field will be mandatory for the form user.
-
Enabled - If this is selected, the user will be able to edit or interact with the field.
-
Visible - If this is selected, the Custom field will be visible in the form.
-
Layout - The width of the blue bar can be adjusted to change the width of the Custom field as it appears on a PC or mobile phone (to view the Mobile layout, click on the expand button
 to the right).
For more details, go to Field Properties.
Saving changes and version history
Make sure to save any changes you make by clicking on the Save button  . You will always have the option to revert back to previous versions of your form by clicking the Design Version History
  button in the top right corner.
What’s next 
Now that you’ve learned about Custom controls, find out more about how you can use Controls, how you can get started as a Kianda low-code developer, and more about the three other categories of Controls you can add to a Kianda process:
Feedback
Was this page helpful?
Glad to hear it! Please tell us how we can improve.
Sorry to hear that. Please tell us how we can improve.