Layout controls
Layout fields are one category of controls (fields). They are fields that can be used to enhance the layout of your form - for example, responsive panels, dialog boxes and rich text fields.
Getting started with Layout fields
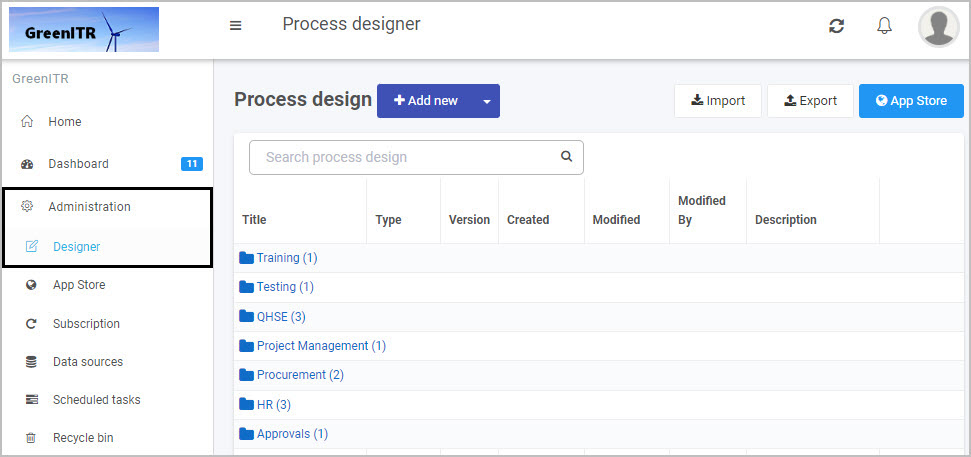
- To insert a Layout field into a form, first open an existing process or create a new process by going to Administration>Designer in the left side menu. See Create First Process to learn how to create your first process.
-
Then select the form within that process that you want to add the Layout field to (so that the Edit Form button
 is visible).
 -
Next, click on Controls in the left-hand pane to expand the Controls menu and select Layout to view the Layout fields.
-
Click on the Layout field you want to insert.
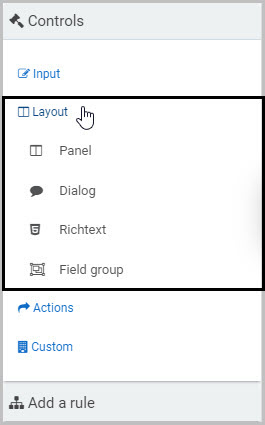
There are 4 types of layout fields:
-
Panel - The Panel field provides responsive panels to hold elements of your form like text boxes and lists and enables flexible layout options for better design. To learn more, go to Panel control.
-
Dialog - The Dialog field is used to create modal dialogs to alert or prompt form users. For example, a warning message could display to remind the user to complete part of a form before they proceed to the next section. To learn more, go to Modal Dialog control.
-
Richtext - The Richtext field is used to create rich content in forms, such as an attractive banner or static html, and provides optimum formatting options. To learn more, go to Richtext control.
-
Field group - The Field Group control can be used to mirror a group of fields from another form or location and reference those fields in your new form, making process design sleeker and more efficient. To learn more, go to Field group control.
How to add, edit, move and delete Layout fields
How to add Layout fields
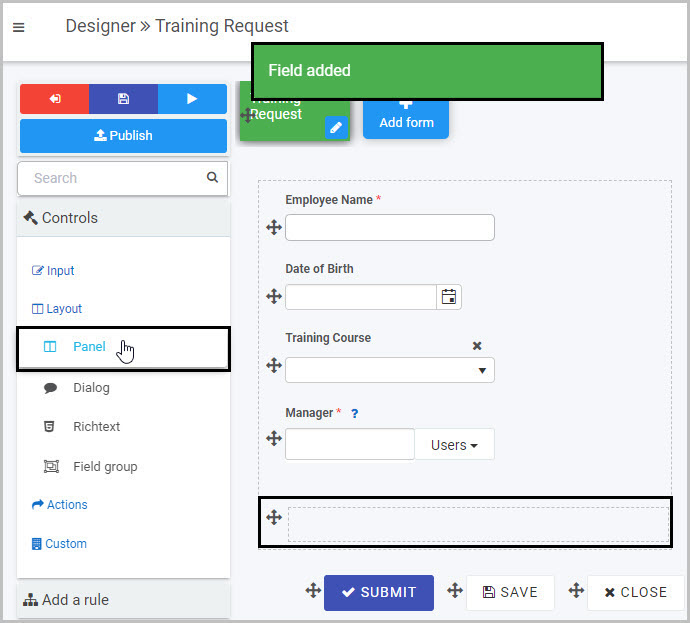
To insert a Layout field into your form, click on the field type you want to add from the Layout menu.
For example, to add a new panel to your form, click on Panel - a pop-up message will appear saying ‘Field added’ and a panel field with the default name Panel 1 will be added to your form (by default, the title of the new panel will not be shown but you can make it visible by selecting the ‘Show title’ checkbox in the Field properties panel to the right).
How to edit Layout fields
To edit whatever type of Layout field you have added to your form:
-
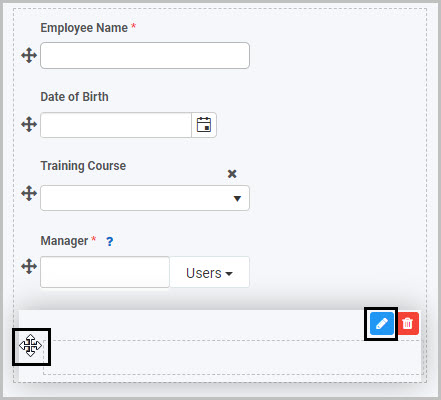
Select the field (by either clicking on the field name or on the Drag handle button
 )
) -
Click on the Edit Field button (Pen icon)
.In our example, we have selected the Panel field by clicking the Drag handle button and can then click on the Edit field button to edit it.
-
This will open up the Edit Field dialog box where you can make various changes (such as changing the Title of the field) and where a variety of options will be available to you, depending on the type of Layout field you have selected.
How to move Layout fields
To move a Layout field:
- Select the field’s Drag handle button
- Drag and drop the field wherever you want to move it within your form
How to delete Layout fields
To delete an input field from your form:
- Select the field (by either clicking on the field’s name or its Drag handle button )
- Click on the Bin/Trash button

- Click on OK to confirm
How to edit Layout field properties
To view or edit the field properties associated with a Layout field, select the field (by clicking on the field title or drag handle button ) - the Field properties menu will appear in the right-hand pane.
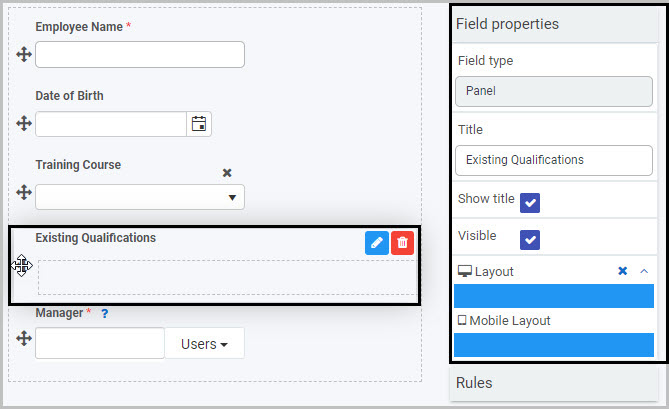
For example, the Field Properties associated with a Panel field titled ‘Existing Qualifications’ are shown here and include:
-
Field type - The type of field, in this case a Panel.
-
Title - The Title of the field, in this case ‘Existing Qualifications’.
-
Show title - If this is selected, the field title will be shown in the form.
-
Required - If this is selected, the field will be a mandatory field that users must complete (denoted by a red asterix next to the field title).
-
Enabled - If this is selected, the user will be able to edit or interact with the field.
-
Visible - If this is selected, the field will be visible in the form.
-
Layout - The width of the field is denoted by the width of the blue bar. Click on the bar to change the width of the field as it will appear on a PC or mobile phone (to view the Mobile layout, click on the expand button
 to the right).
To learn more about the different options within the Field properties menu, go to Field Properties.
Saving changes and version history
Make sure to save any changes you make by clicking on the Save button  . You will always have the option to revert back to previous versions of your form by clicking the Design Version History
  button in the top right corner.
What’s next 
We have briefly introduced each of the four types of Layout controls. Now let’s look at each of these types of Layout controls in more detail:
Feedback
Was this page helpful?
Glad to hear it! Please tell us how we can improve.
Sorry to hear that. Please tell us how we can improve.