Document generation refers to the use of Kianda Add-ins for Word, and also Excel, that you can use to generate reports within Kianda processes and populate the reports with data captured within each process instance. This could be useful, for example, for inspection reports where a report template can be used to show the information the engineer input to a Kianda form during his inspection. Each time an inspection is performed, a report is generated based on a Word template and the report shows the relevant information that was captured during that particular inspection.
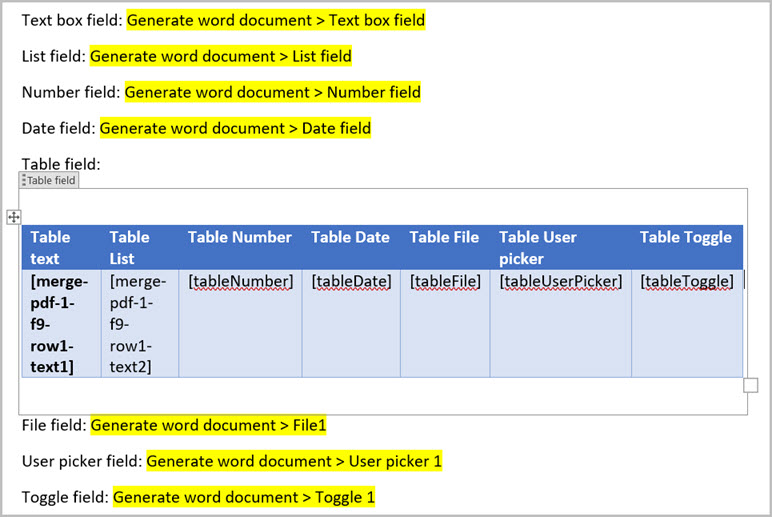
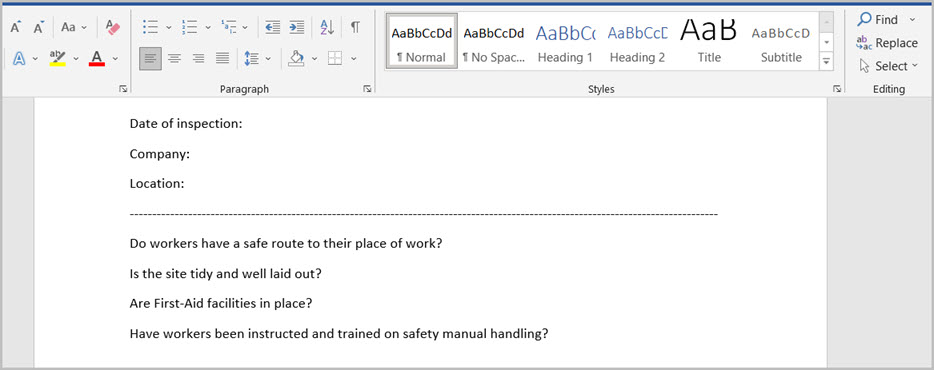
Microsoft Word template with Kianda form fields
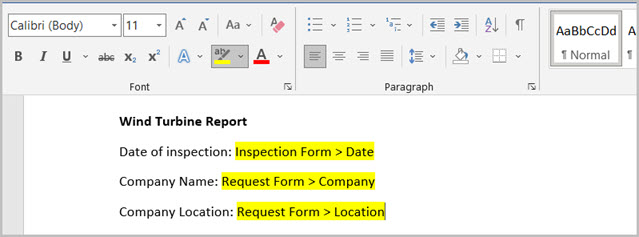
In the example above, a report will generate data pulled from a Kianda process instance (record) that contains the date, company and location data within an ‘Inspection Form’ and a ‘Request Form’. To create this kind of template, you can use a Kianda Add-in in Word to link your document to your Kianda process.
Installing Kianda Add-in to Word or Excel
The example below steps through how to install the Kianda Add-in for Word, however the same steps apply to get started with the Kianda Add-in for Excel.
-
Create a template outline in Microsoft Word.
-
Click on the Insert tab > Get Add-ins

-
Search for Kianda.
-
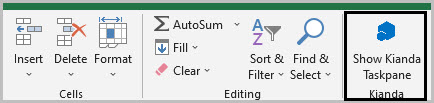
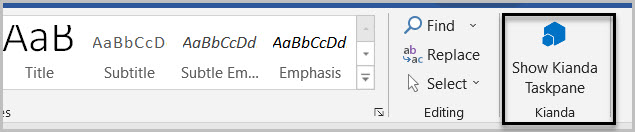
Click on Add, then Continue and click on the Home tab. The Show Kianda Taskpane should be added to your ribbon.
-
On the right-hand side of the Home tab, click on the Kianda Add-in.
-
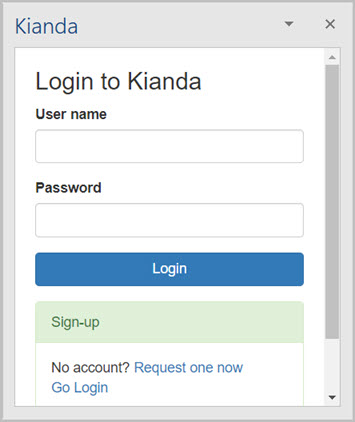
In the Kianda pane log in using your Kianda username and password.
-
From the drop-down list under Login to Kianda, select your Kianda subscription and press Continue. Note that all of your subscriptions will be available in the drop-down. Make sure to select the correct one when creating you template.

Before you begin using the Kianda add-in for Word or Excel
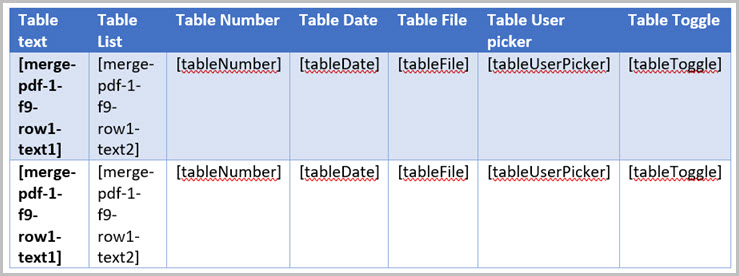
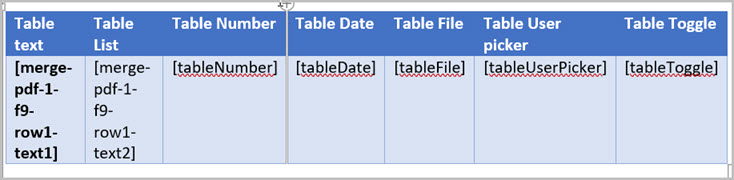
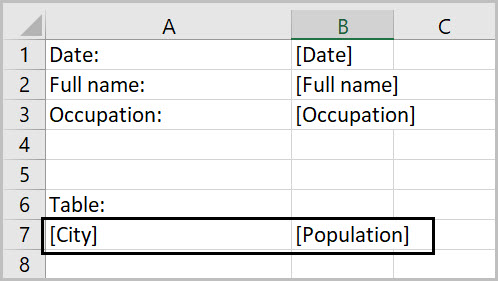
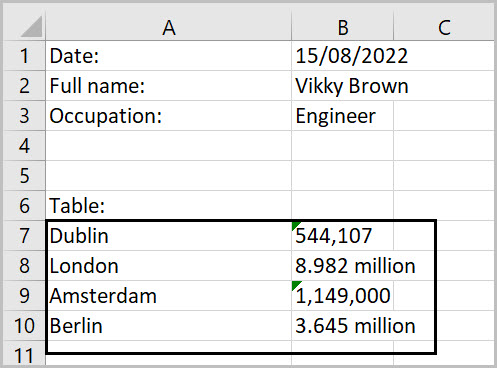
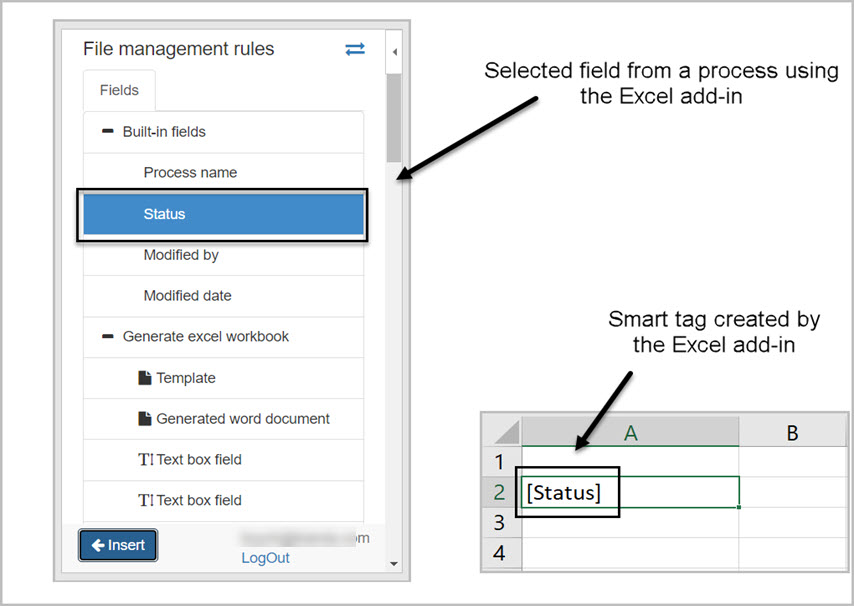
When you want to use Kianda add-in for both a Word or Excel template, you need to have created a process with one or more forms. The forms need to have different types of fields within them, for example a text box field or a table field. Those fields are used to create smart tags using the Kianda add-in within a Word or Excel template. Smart tags are created when a field is selected from a process using the Kianda add-in task pane, and then inserted into the document. See the image below for a presentation of a smart tag in Excel:
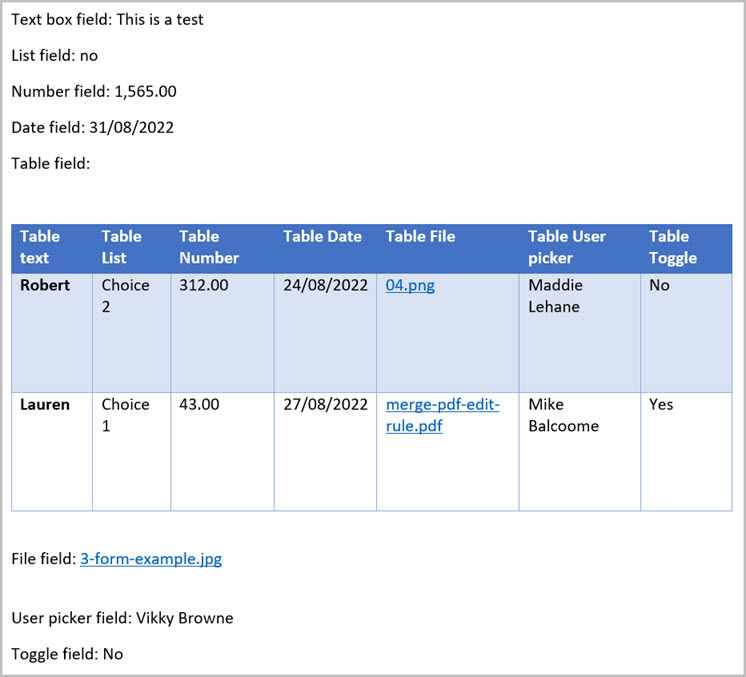
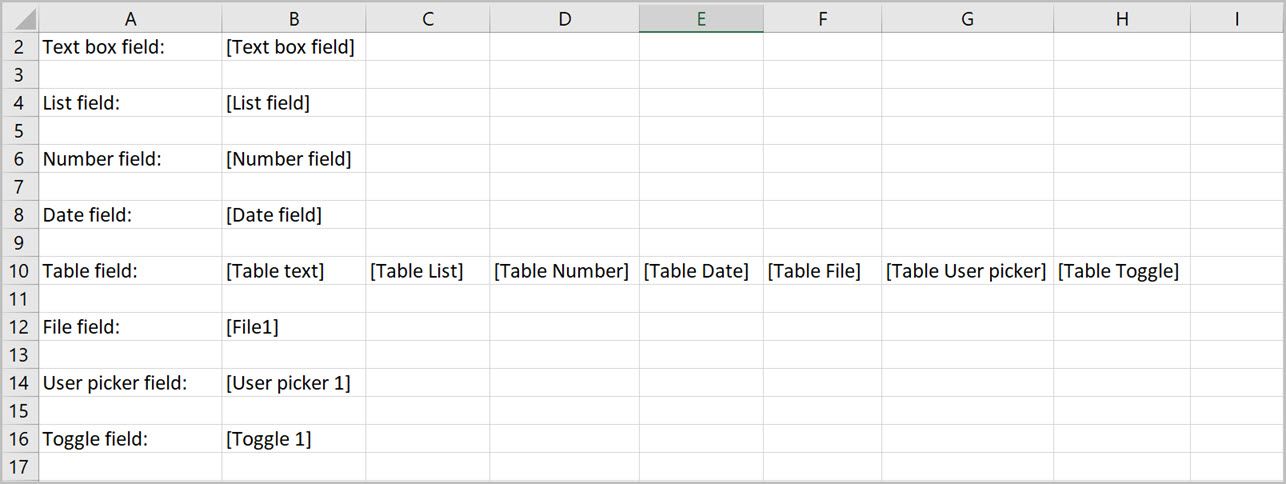
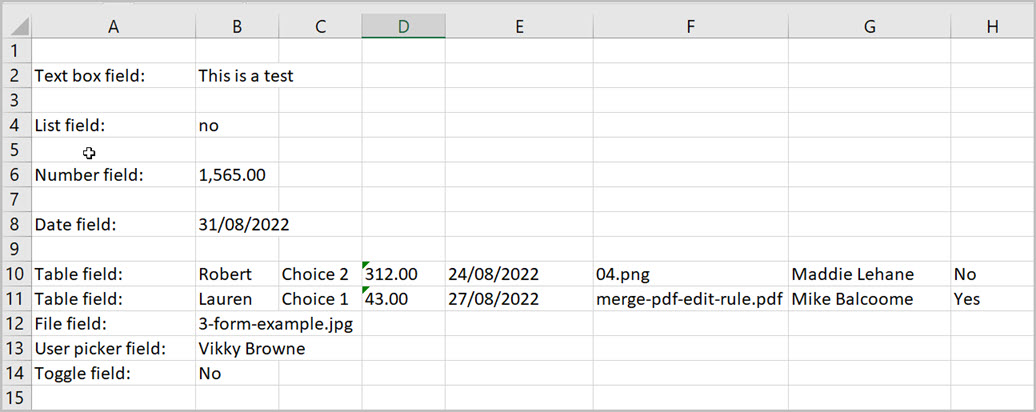
Before you get started, you also need to have the outline of a template ready so that you can import data from your process by using the smart tags. For each instance of a process the smart tags will pull values from that a specific process instance, but the outline of the template will stay the same. For example, if you create a Health & Safety checklist process, the outline of the checklist is always the same but the values may differ for each time the checklist is filled out. A template outline represents the generic outline of what data will be needed in the final generated document, for example, you need the date, the company, location and relevant checks that need to be performed. See image below for an example of a template outline:
We have briefly introduced the concept of document generation in Kianda. Now let’s look at the following areas in more detail:

 to get a drop-down list of Kianda processes that you have access to.
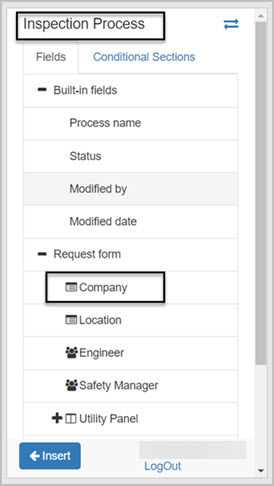
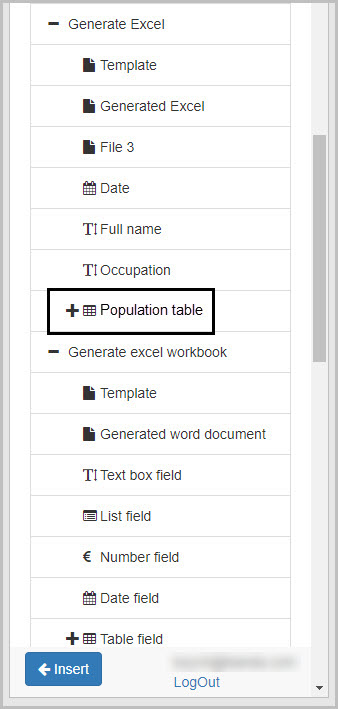
 at the bottom of Kianda task pane to add the form field into the template