Support
The Support function is available to users with a designated role, for example, Manage partners, Designer or Administrator and is found in the left-hand side pane, under More. This function allows you to log support tickets and view application logs.
How to get started
To use the Support function:
-
Click on More in the left-hand side pane and then click on Support.
-
You can view any current tickets or logs in the main view pane.
These are two main areas: Support tickets and Application logs. These areas are explained in more detail below.
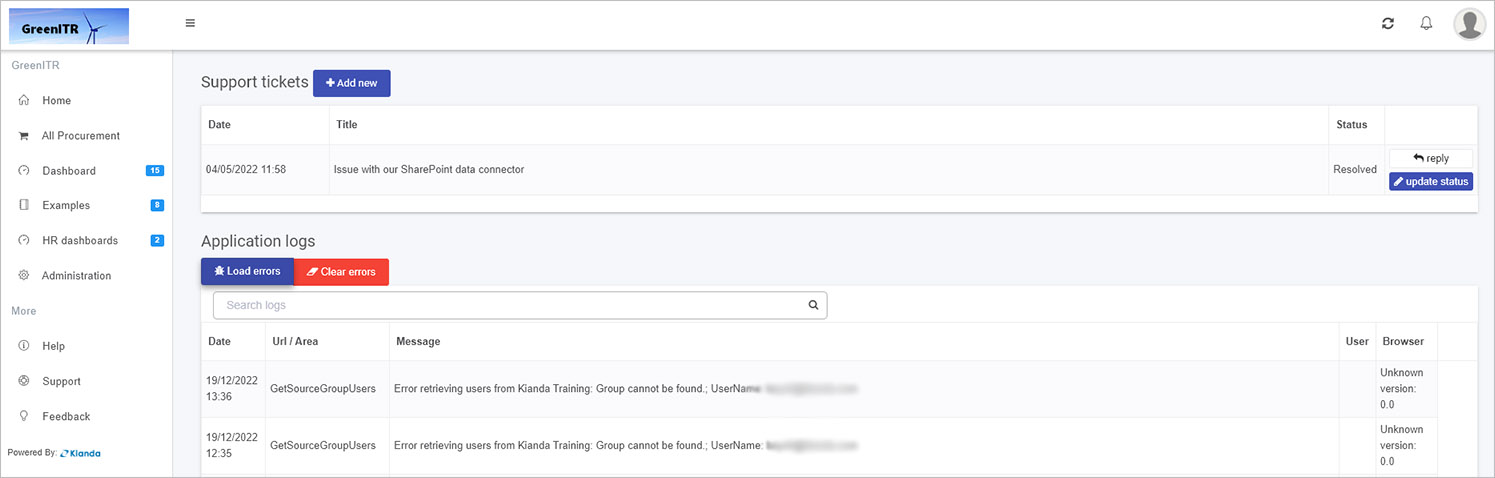
Support tickets
Support tickets can be raised and viewed through this area of the platform.
Existing support tickets appear within this section, showing the title of the ticket, date it was issued and status.
Existing tickets
-
Click on the name of a ticket to view ticket details, such as who raised the ticket and a description of the issue. The date and time that the ticket is raised is visible, along with the status of the ticket.

-
Click on update status to change the title of the field or update the status.
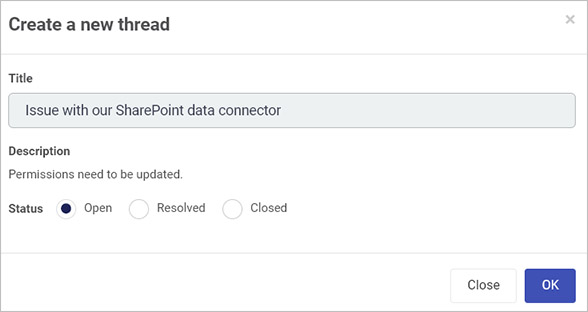
The Create a new thread dialog box showing the title and description. Here the status can be changed to become: Open, Resolved (resolved from the Kianda support side) or Closed (the customer is satisfied with the resolution and has closed the ticket). Click on Close to exit without saving or OK to submit changes.
-
Click on reply to add a comment to the ticket. The Post a reply dialog box opens.
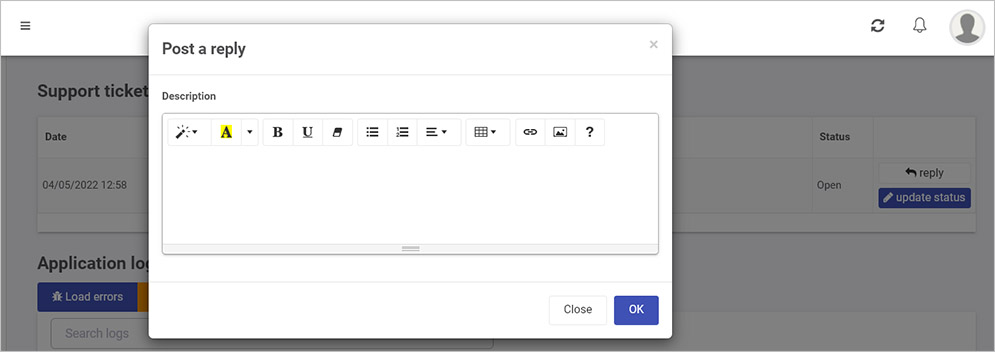
Here you can add a comment in the Description box which can be styled in various way, for example to change the font colour, paragraph layout, add tables, links or images. There is also a Help button
 that gives you Keyboard shortcuts to change the style.
Click on Close to exit without saving or OK to submit changes.
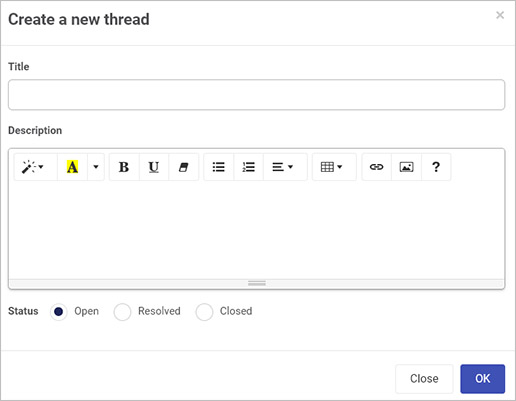
To create a new ticket
-
Click on the Add new button.
-
In the Create a new thread dialog box, enter a Title, Description and set the ticket status, typically Open.
Application logs
System logs appear in this section when you click on Load errors. Logs are listed by date, url/area, for example a User update, a system generated Message, User and Browser involved in the log entry.
-
Click in the search box and enter text to search for logs based on key word entry.
-
If there are several pages of logs, click on the page number to see entries for that page.
-
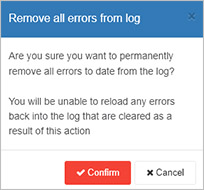
Click on Clear errors to clear all existing logs from the system. Any changes after this time will be added to the logs again and visible to users. To clear existing logs click on Confirm in the Remove all errors from log dialog box, or else click on Cancel to cancel the deletion.
What’s next 
To read more about how to create processes and forms go to Application Designer.
To find out about other ways to get help and support, go to Help.
Feedback
Was this page helpful?
Glad to hear it! Please tell us how we can improve.
Sorry to hear that. Please tell us how we can improve.