Format date
Introduction
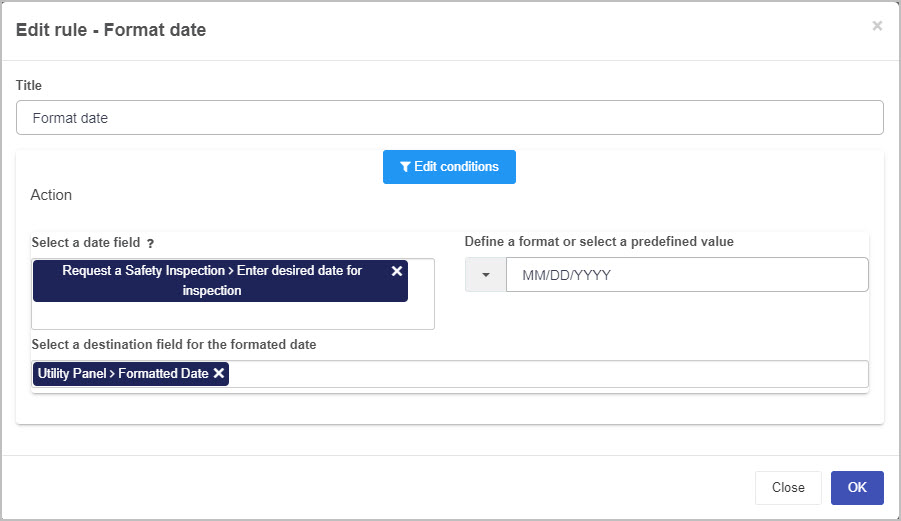
The Format date rule is used to reformat a selected date field within your Kianda form, and send it to a destination field. You can choose from a range of date formats where month or day leads, and time is also included, see step 5 in How to get started.
In the below example, the Format date rule is applied to a selected field from the drop-down list and is formatted to the MM/DD/YYYY format. The resulting formatted date is then displayed in the Formatted Date field that is selected under Select a destination field for the formatted date. You can utilise this rule to format the entered date so that it matches various national date formatting standards. The default formatting for Kianda dates are DD/MM/YYYY, so in the below example an entered date of 23/08/2022 would become 08/23/2022.
When to use
The format date rule should be used when you wish to amend the formatting of a date field within Kianda. For example, you receive a date from a data source in one format and wish to present it in the form in another format.
You can add this rule:
- to a field
- to a form
- to a process (the rule will run on load)
Before you get started
In advance of using this rule, you need to have created one or more forms, complete with control fields. For example, you must have a created field in your form that the Format date rule can be applied to. See Date control for more information on using date fields.
How to get started
-
Click on an existing process by going to Administration > Designer and decide which form, or field you will apply the rule to, by clicking on that item so that it is in edit mode so you can see the Edit/pen button, Pen button
 .
. -
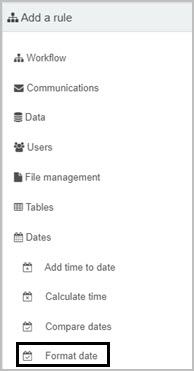
Click on Add a rule > Dates > Format date.
-
In the Edit rule - Format date dialog box, give the rule a title in the Title field.
-
If you want to add conditions for the rule, click on the Edit conditions button
 . See Conditions for more details.
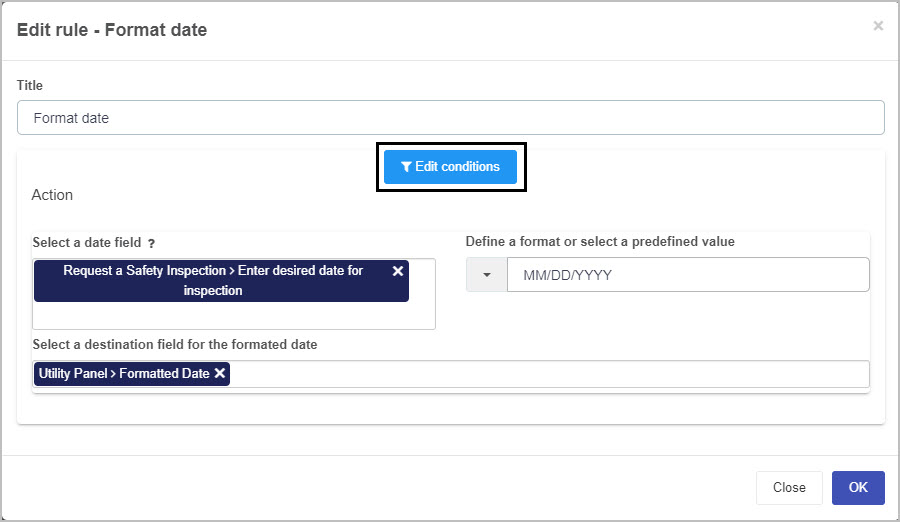
-
Under Action, create one or more actions for the rule by filling out the following:
-
Select a date field - choose a date field from the drop-down list you would like to be formatted. The help button
 provides you with additional support.
 -
Define a format or select a predefined value - choose from the drop-down list the type of date formatting you would like to change your date to:

-
Select a destination field for the formatted date - choose a date field from the drop-down list where you would like to store the new formatted date.
-
-
Finally, clicking on the OK
 button will save the new rule you have just created and apply it to the chosen field.
Editing, deleting or duplicating rules
When you have clicked on an existing rule, and the rule is visible in the right-hand pane under Rules, there are a number of options available to you.
- To disable a rule click the slider across beside the rule name.
- To copy a rule, click on the Duplicate button
 beside the rule name.
 - To delete a rule, click on the Bin/Trash button
 .
. - To view a rule, click on the rule name to open the Edit rule dialog box.
User tip 
This rule can be utilised to format a date to various national date formatting standards.
What’s next 
To find out more about other date rules go to Dates.
To find out more about other rules go to Rules.
Feedback
Was this page helpful?
Glad to hear it! Please tell us how we can improve.
Sorry to hear that. Please tell us how we can improve.