Make required
Introduction
The Make required rule is used to dynamically make form elements required or mandatory for users to fill in, or not required or to toggle between both states.
It is possible to make fields statically mandatory for users to fill in by checking the Required property for the field. However using this rule gives a greater degree of flexibility to cause an action based on user input using a Condition.
Take the example of a feedback form, where there is an option for a customer to fill in their name or not. If they do fill in their name however, then a Customer Account Number field becomes mandatory.
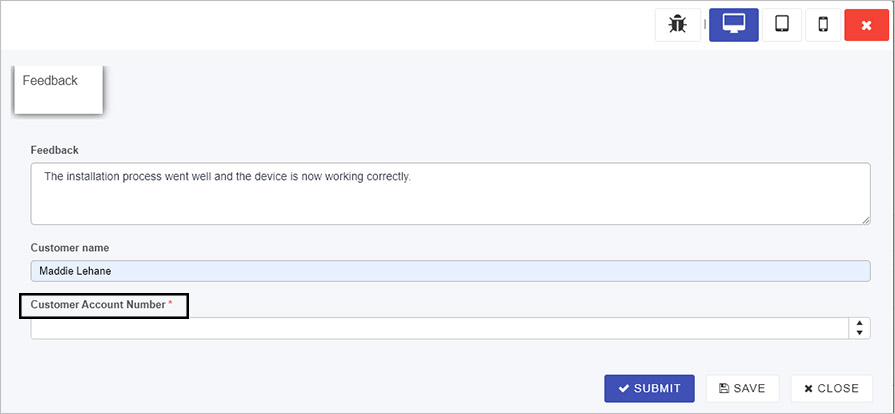
As soon as Maddie fills out her name in the example above, then and only then the Customer Account Number becomes required, indicated by an asterix. This rule could be combined with Hide or Disable rule to make fields appear/hidden based on user input.
When to use
You can add this rule:
- to a field
The rule can be added at other levels (process, form), but it is most commonly used in the method outlined in the Introduction.
How to get started
To dynamically make a field required:
-
Click on an existing process by going to Administration > Designer and decide which form, or field you will apply the rule to, by clicking on that item so that it is in edit mode so you can see the Edit/pen button, Pen button
 .
. -
Click on Add a rule > Workflow > Make required.
-
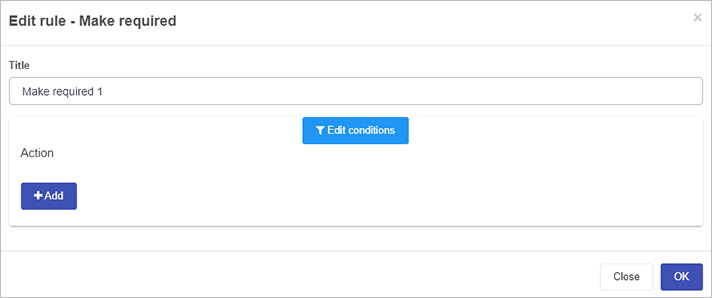
In the Edit rule - Make required dialog box, give the rule a title in the Title field.
-
To add conditions for the rule, click on the Edit conditions button
 to create conditions for the rule, see Conditions for more details.
For example to make one field required based on another field being completed, the condition would look like this:
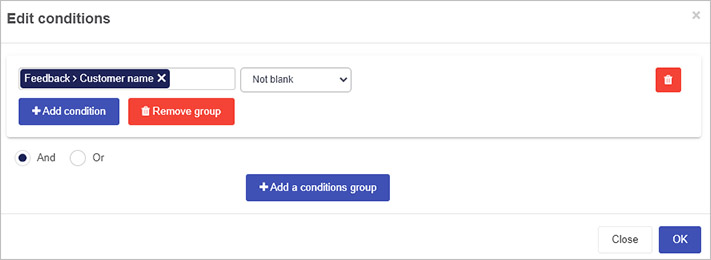
As shown on the Conditions page there are a multitude of options to choose from where Not blank is just one option shown above.
-
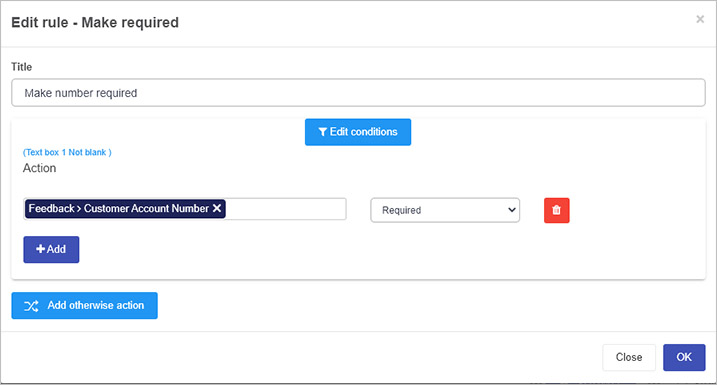
Under Action create one or more actions for the rule by clicking on the empty field to add a form or form field, and then choose an option from the action drop-down list, choosing from Required, Not required or Toggle required.
Using the example from the Introduction, where a condition is used that if one field is not blank, then another becomes required would look like this:
-
To add more actions, click on Add. At any time remove an action by clicking on the Bin/Trash icon
 beside the name of the action.
 -
When you are finished editing the dialog box, click on OK or click on Close at any time to exit the dialog box.
-
If the rule is attached to a field within a form, a notification will appear within the form design, for example the field Customer name as shown in the image below.

-
When you click on the field or form that has the rule attached, the rule will appear in the right-hand pane under Rules.
The next section will cover how to use the buttons visible in the right-hand pane to manipulate the rule.
Editing, deleting or duplicating rules
When you have clicked on an existing rule, and the rule is visible in the right-hand pane under Rules, there are a number of options available to you.
-
To disable a rule click the slider across beside the rule name.
-
To copy a rule, click on the Duplicate button
 beside the rule name.
 -
To delete a rule, click on the Bin/Trash button
. -
To view a rule, click on the rule name to open the Edit rule dialog box.
What’s next 
To find out more about other workflow rules go to Workflow.
To find out more about other rules go to Rules.
Feedback
Was this page helpful?
Glad to hear it! Please tell us how we can improve.
Sorry to hear that. Please tell us how we can improve.