Schedule a rule
Introduction
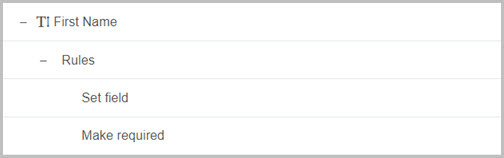
Schedule a rule allows you to schedule a rule or a field to be triggered immediately, at some point in the future or recurring. If a form field has multiple rules attached to it, that include the Schedule a rule rule, rules can execute sequentially and you can change the order of the rule execution, see Multiple rules for details. You can also select a specific rule to execute. For example in the image below, the text box field First Name is expanded to show two rules. You can select all or just one rule to be triggered. You can select all rules by selecting the First Name text box itself or to select just one rule you can expand the field and selecting the desired rule you want to schedule:
When to use
You can add this rule:
- to a field
- to a form
- to a process (the rule will run on load)
How to get started
The following step illustrates a scenario to schedule a reminder email using the Send email rule when a form is submitted:
-
Click on an existing process by going to Administration > Designer and decide which form, or field you will apply the rule to, by clicking on that item so that it is in edit mode so you can see the Edit/pen button, Pen button
 .
. -
Click on Add a rule > Workflow > Schedule a rule.
-
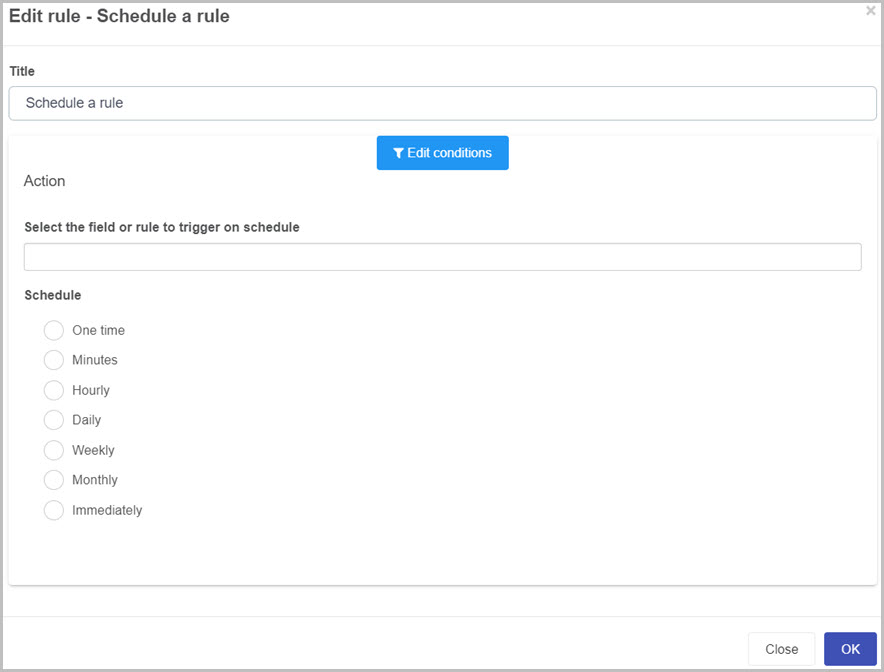
In the Edit rule - Schedule a rule dialog box, give the rule a title in the Title field.
-
If you want to add conditions for the rule, click on the Edit conditions button
 to create conditions for the rule, see Conditions for more details.
 -
Under Action fill out the following:
-
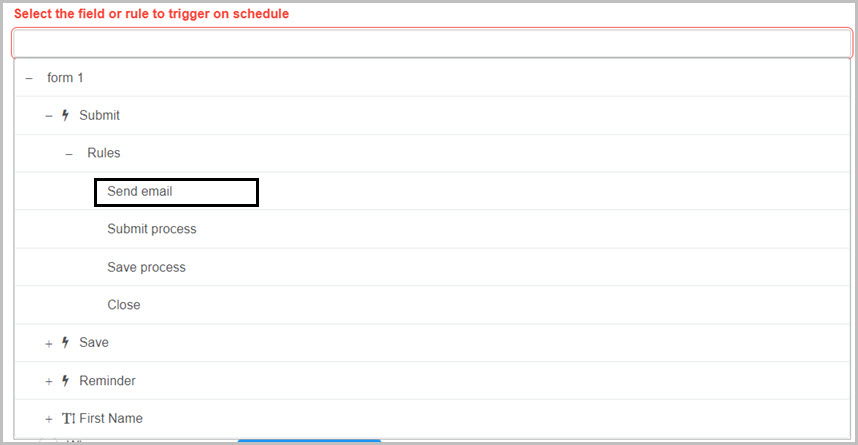
Select the field or rule to trigger on schedule - allows you to select a field or rule you want to trigger. If a field has multiple rules, they will be triggered sequentially and you can change the order of the rule execution, see Multiple rules for details. You can also select a specific rule from a field with multiple rules by drilling down and selecting the desired rule. In this example we want to select a rule called Send email which is attached to the Submit button.
-
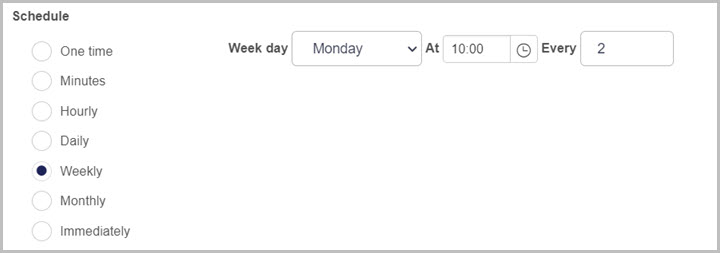
Schedule - allows you to choose a time of schedule. For this example we will select to send the email Weekly at 10 am every 2 weeks.
You can select a different type of schedule that is suited to your rule, here are the options:
- One time - Select Time mode as Absolute or Relative from now. If Absolute, you can select the time using the clock icon and the date using the calendar icon or you can select a form field (where the date is stored) by clicking on the icon with black discs
 . If Relative from now, enter the days, hours and minutes directly.
 - Minutes - select the number of minutes you want the scheduled rule to reoccur.
- Hourly - select the number of minutes and hours you want the scheduled rule to reoccur.
- Daily - select the time of day and the number of days you want the scheduled rule to reoccur. You can select that the rule will trigger only on week days by enabling the Week days only checkbox.
- Weekly - select a day of the week, time of the day and the number of weeks that you want the scheduled rule to reoccur.
- Monthly - select the date of the month or First, Second, Third, Fourth, Last weekday of the month. You can also select a specific time that you want the scheduled rule to reoccur.
- Immediately - the rule will trigger immediately.
- One time - Select Time mode as Absolute or Relative from now. If Absolute, you can select the time using the clock icon and the date using the calendar icon or you can select a form field (where the date is stored) by clicking on the icon with black discs
-
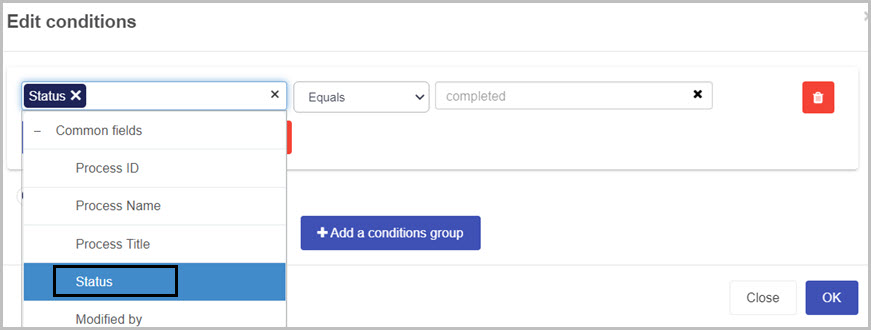
Expire - It is possible to set the schedule rule to expire by enabling Expire checkbox. For this example we will use the When option and apply a condition. The goal of the reminder is to send it every two weeks until the status of the process is completed. In the condition of the When option, select Status from the Common fields and make it equals to completed as shown in the image below:
There are three options when to expire the scheduled rule:
- By - the rule will expire by the date and time given. Either select the time using the clock icon and the date using the calendar icon OR select a form field (where the date is stored) by clicking on the icon with black discs.
- After - the rule will expire after a set number of occurrences. Select the number of occurrences in the blank field or click on the icon with black discs to choose a field where the number of occurrences is stored.
- When - add a condition which will cause the rule to expire when it is true.
You are also presented with two more options when selecting any of the Schedule options except Immediately, the options are:

-
Make task unique - enable this option to prevent a second identical task being created for this instance of the process
-
Execute in series - select Yes if you want the server-side execution to be in series rather than in parallel.
-
-
When you are finished editing the dialog box, click on OK or click on Close at any time to exit the dialog box.
Editing, deleting or duplicating rules
When you have clicked on an existing rule, and the rule is visible in the right-hand pane under Rules, there are a number of options available to you.
-
To disable a rule, click the slider across beside the rule name.
-
To copy a rule, click on the Duplicate button
 beside the rule name.
 -
To delete a rule, click on the Bin/Trash button
 .
. -
To view a rule, click on the rule name to open the Edit rule dialog box.
What’s next 
To find out more about other workflow rules go to Workflow.
To find out more about other rules go to Rules.
Feedback
Was this page helpful?
Glad to hear it! Please tell us how we can improve.
Sorry to hear that. Please tell us how we can improve.