Introduction
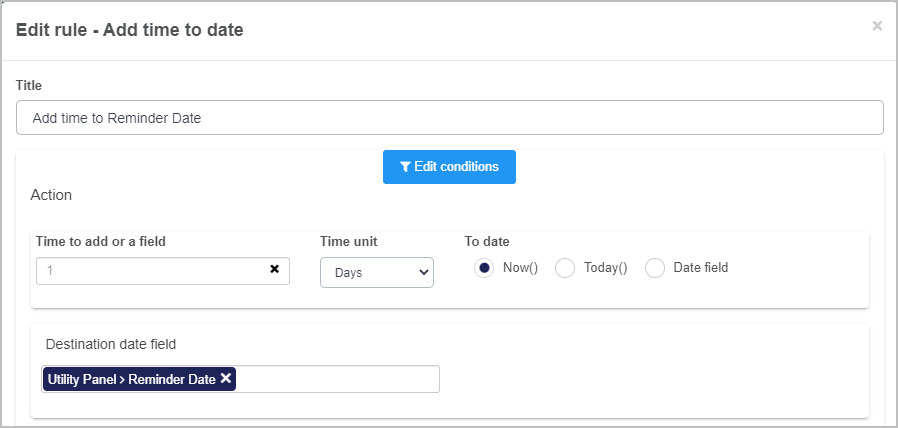
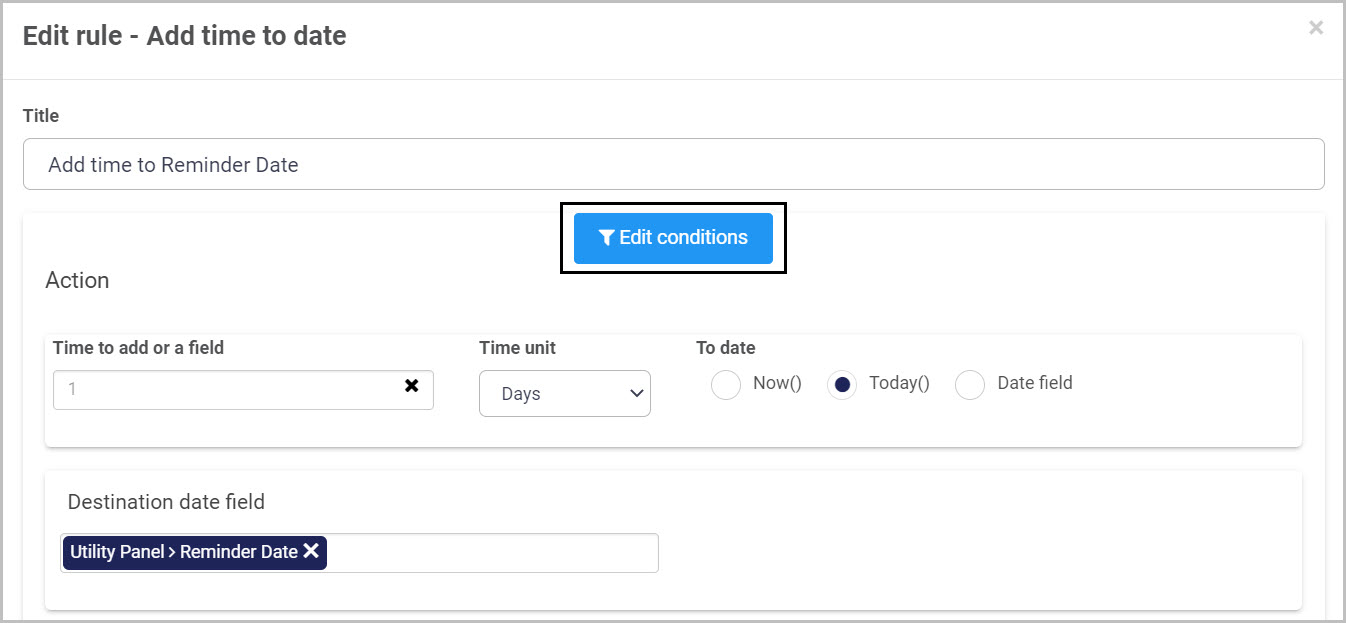
The Add time to date rule allows you to add time to a date field in order to have a future date set within your form. This rule can remind users through set intervals to complete a process instance before a set time. An example of this rule would be entering a numeric value of 1 into the Time to add or a field, selecting Days from the Time unit drop-down list, and selecting Today() from the To date radio button options.

When to use
The Add time to date rule should be used when a user wishes to add time to a date. For example, sending a reminder email after a set interval of time.
You can add this rule:
- to a field
- to a form
- to a process (the rule will run on load)
Before you get started
In advance of using this rule, you need to have created one or more forms, complete with control fields. For example, you must have a created field in your form that the Add time to date rule can be applied to. See Date control for more information on using date fields.
How to get started
-
Click on an existing process by going to Administration > Designer and decide which form, or field you will apply the rule to, by clicking on that item so that it is in edit mode so you can see the Edit/pen button, Pen button
 .
. -
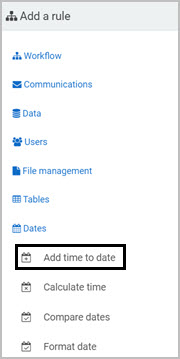
Click on Add a rule > Dates > Add time to date.

-
In the Edit rule - Add time to date dialog box, give the rule a title in the Title field.
-
If you want to add conditions for the rule, click on the Edit conditions button
 . See Conditions for more details.
-
Under Action create one or more actions for the rule by filling out the following:
-
Time to add or a field - click on the field and select a numerical value, or another field in your Kianda form. This will be the interval quantity.
-
Time unit - choose an option from the drop-down list to serve as your interval unit:
-
Minutes
-
Hours
-
Days
-
Weeks
-
Months
-
Years
-
-
To date - choose from the radio buttons:
-
Now() - adding time to date immediately
-
Today() - adding time to date from midnight today
-
Date field - adding time to date from the date specified in another field

-
-
Destination date field - choose the date field within your form which this new date is to be stored. If the Use business hours? checkbox is ticked, you will be prompted to enter the start and end time of your business’ working day, using the time picker list. It should be noted that this checkbox only appears when the time unit chosen is minutes or hours.

-
Date calculation settings - you can select whether the time added to your chosen date field:
- Includes weekends
- Excludes weekends
- Excludes weekends and special dates
- Excludes special dates
-
Special dates - you can also define custom special dates and save them accordingly. Click on Add special date to add in a date. Enter a label for this special date in the left field and a date in the right field. By choosing a title for a new special date, and entering the date into the date field, the date can be saved using the Save special dates for reuse button
 . To load previously saved dates, click on the Load special dates button
  . You can delete a saved Special date by clicking on the Bin/Trash button
 .
.
-
-
Finally, clicking on the OK
 button will save the new rule you have just created and apply it to the chosen field.
Editing, deleting or duplicating rules
When you have clicked on an existing rule, and the rule is visible in the right-hand pane under Rules, there are a number of options available to you.
- To disable a rule click the slider across beside the rule name.
- To copy a rule, click on the Duplicate button
 beside the rule name.
 - To delete a rule, click on the Bin/Trash button
 .
. - To view a rule, click on the rule name to open the Edit rule dialog box.
User tip 
Multiple Special dates can be loaded at once to allow you to select a number of specific dates to exclude from the rule.
The Add time to date rule is commonly used with the Schedule a rule rule to apply the specified time to a rule on a button, for example. This can be used like a clock to countdown to an event such as sending a reminder email.
What’s next 
To find out more about other date rules go to Dates.
To find out more about other rules go to Rules.